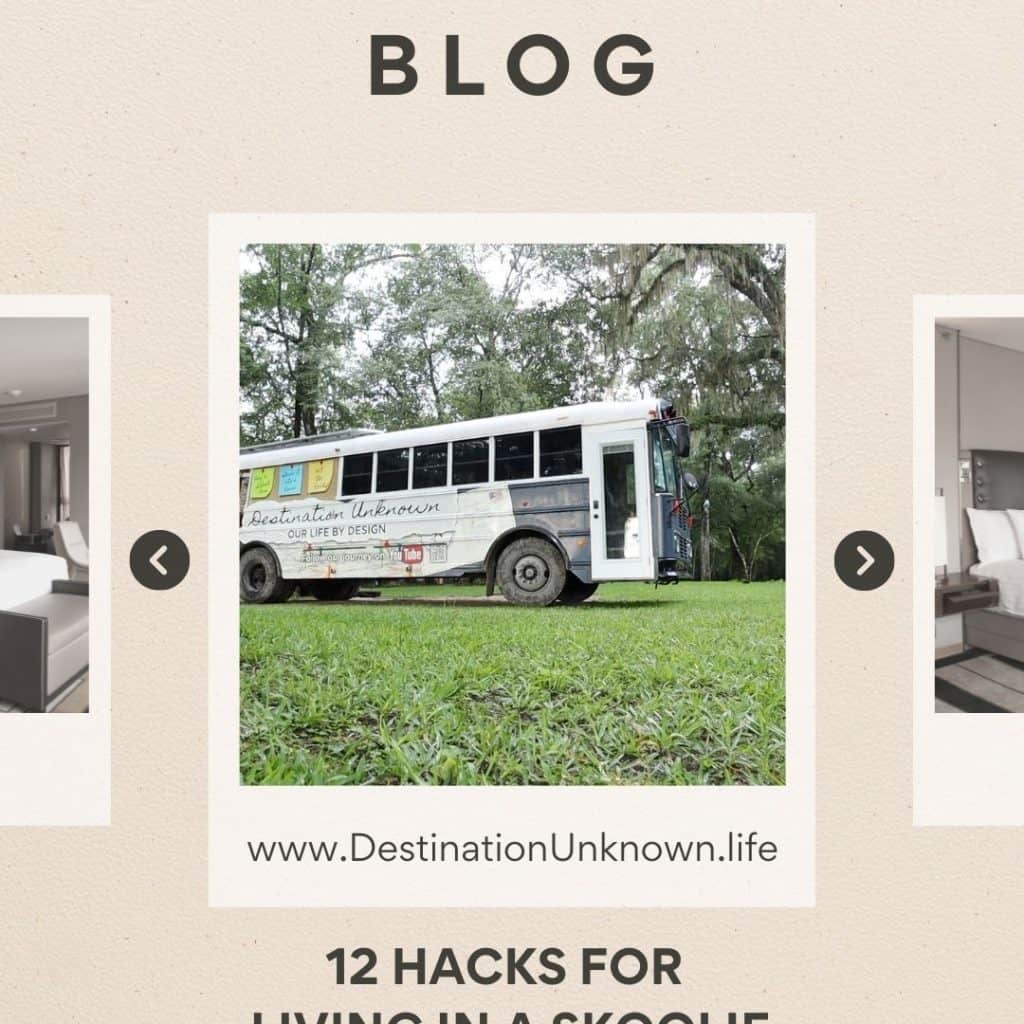
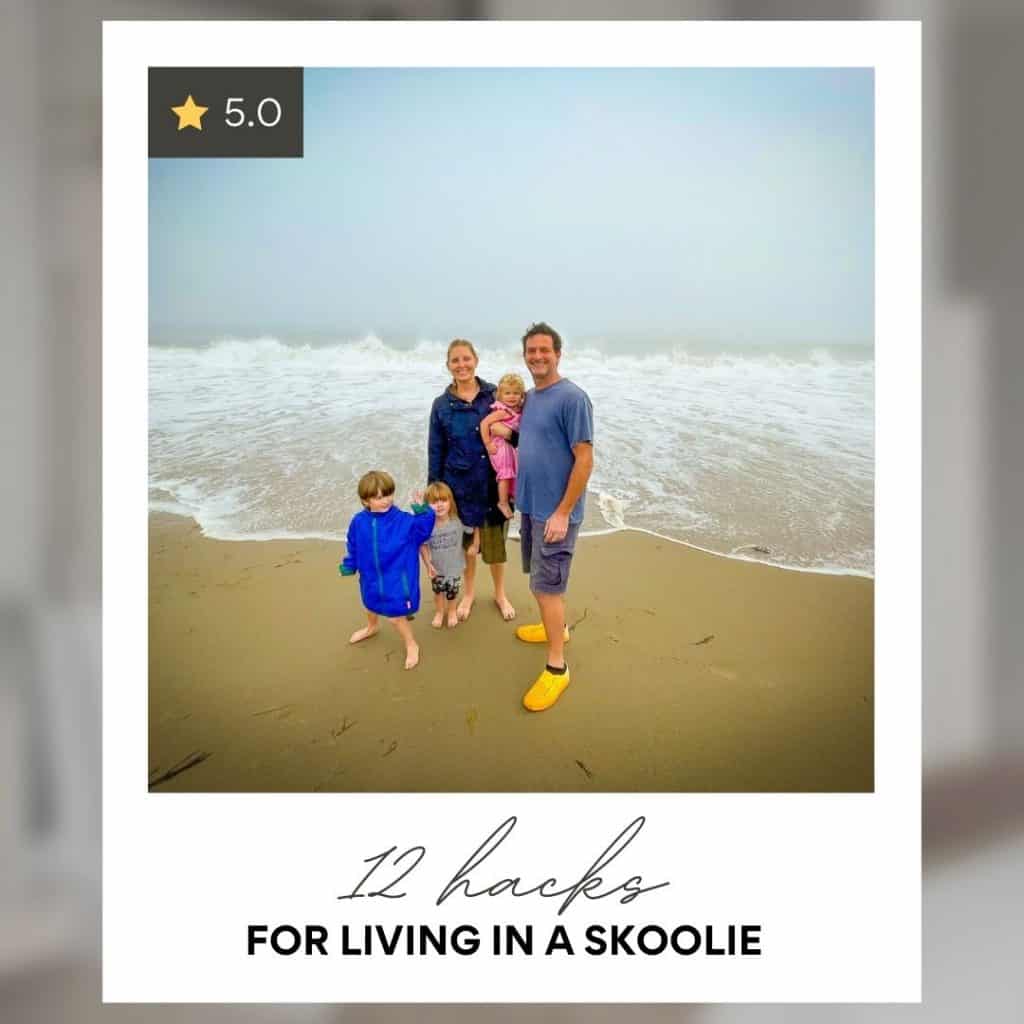
12 Hacks for Living in a Skoolie | Destination Unknown
We’ve come up with twelve ways to improve living in your
- Seeing sunlight & starry skies with a skylight
- Installing a pull-down faucet that can double as an outdoor shower
- Having a dedicated wet space
- Cleaning your compost toilet weekly
- Treating your gray tank
- Installing a water filtration system outside & inside
- Getting outside at least once a day
- Using your space intentionally
- Removing packaging before it comes into the bus
- Purging unnecessary items frequently
- Perform weekly engine maintenance
- Run your AC or heat source weekly to keep moisture levels down

Seeing sunlight & starry skies with a skylight
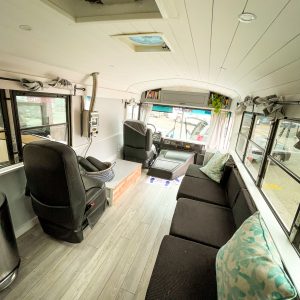
Our skylight is toward the back of the bus, in the captain’s quarters. We love this skylight because it brings in so much natural light and we don’t have to open up blinds or sunlight screens during the day. At night, we get to look up at the stars from the comfort of home.
Installing a pull-down faucet that can double as an outdoor shower
This is the skooliest
See a detailed list of products we purchased for our skoolie transformation here!
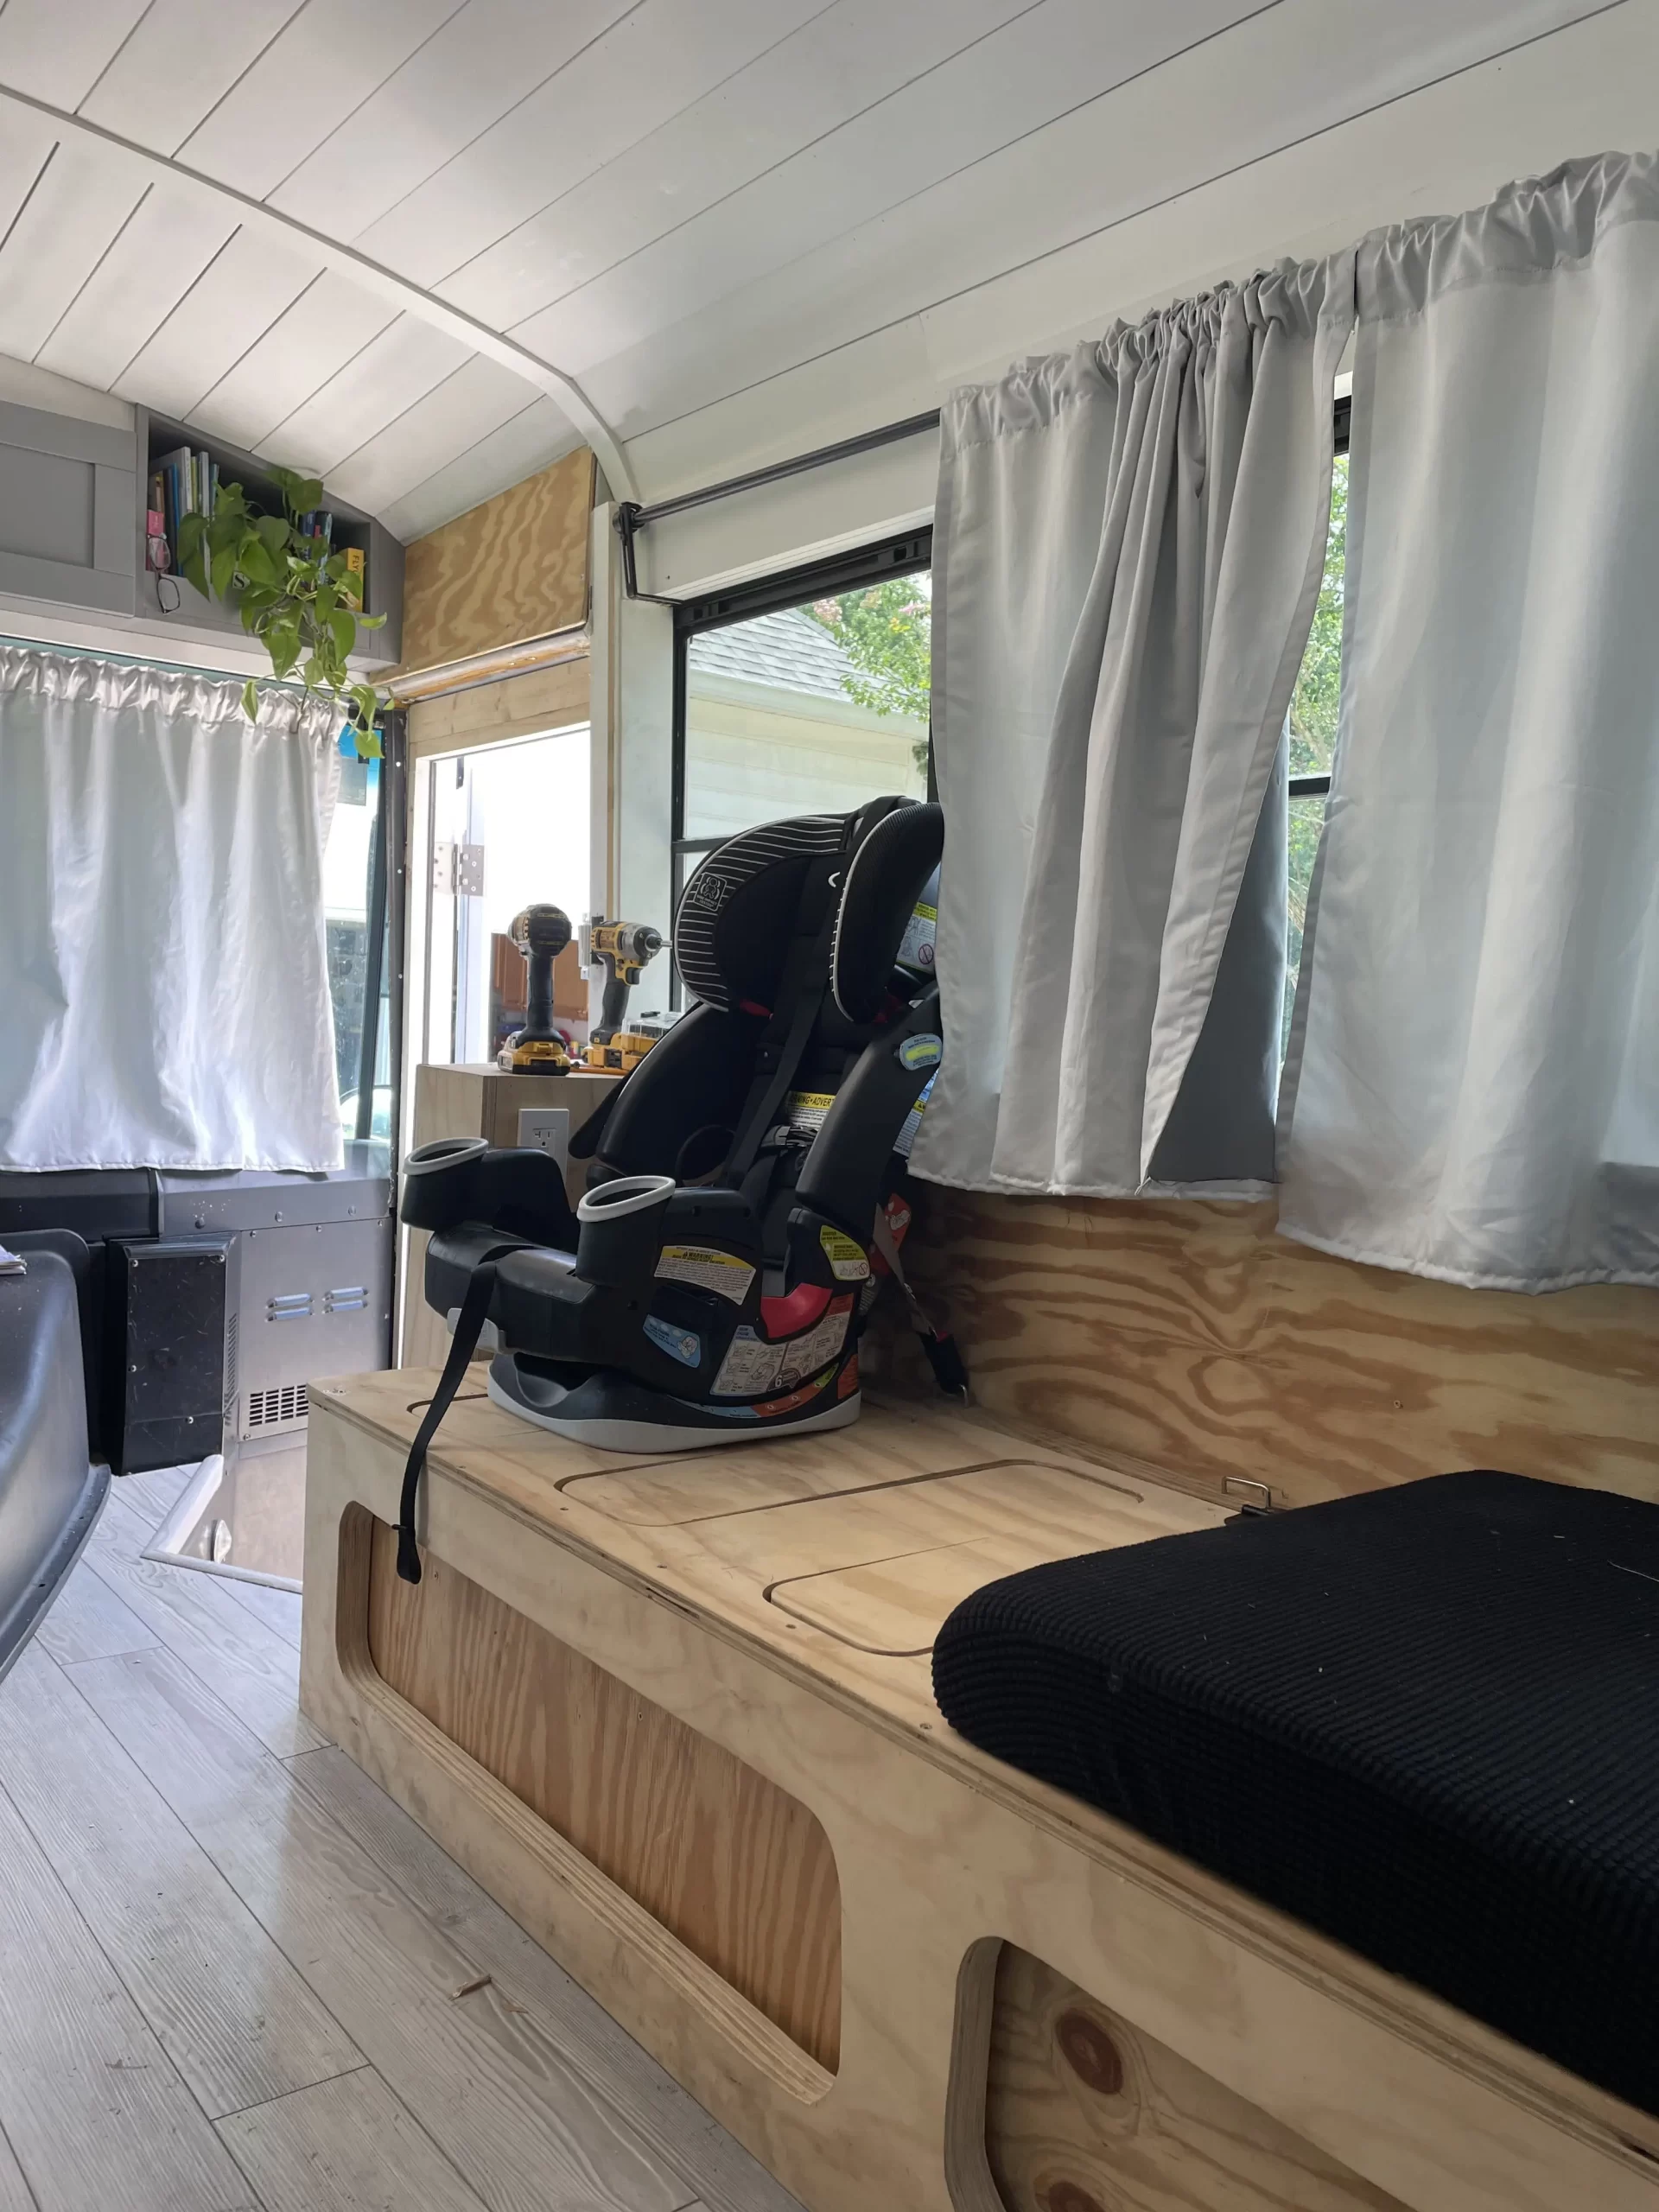
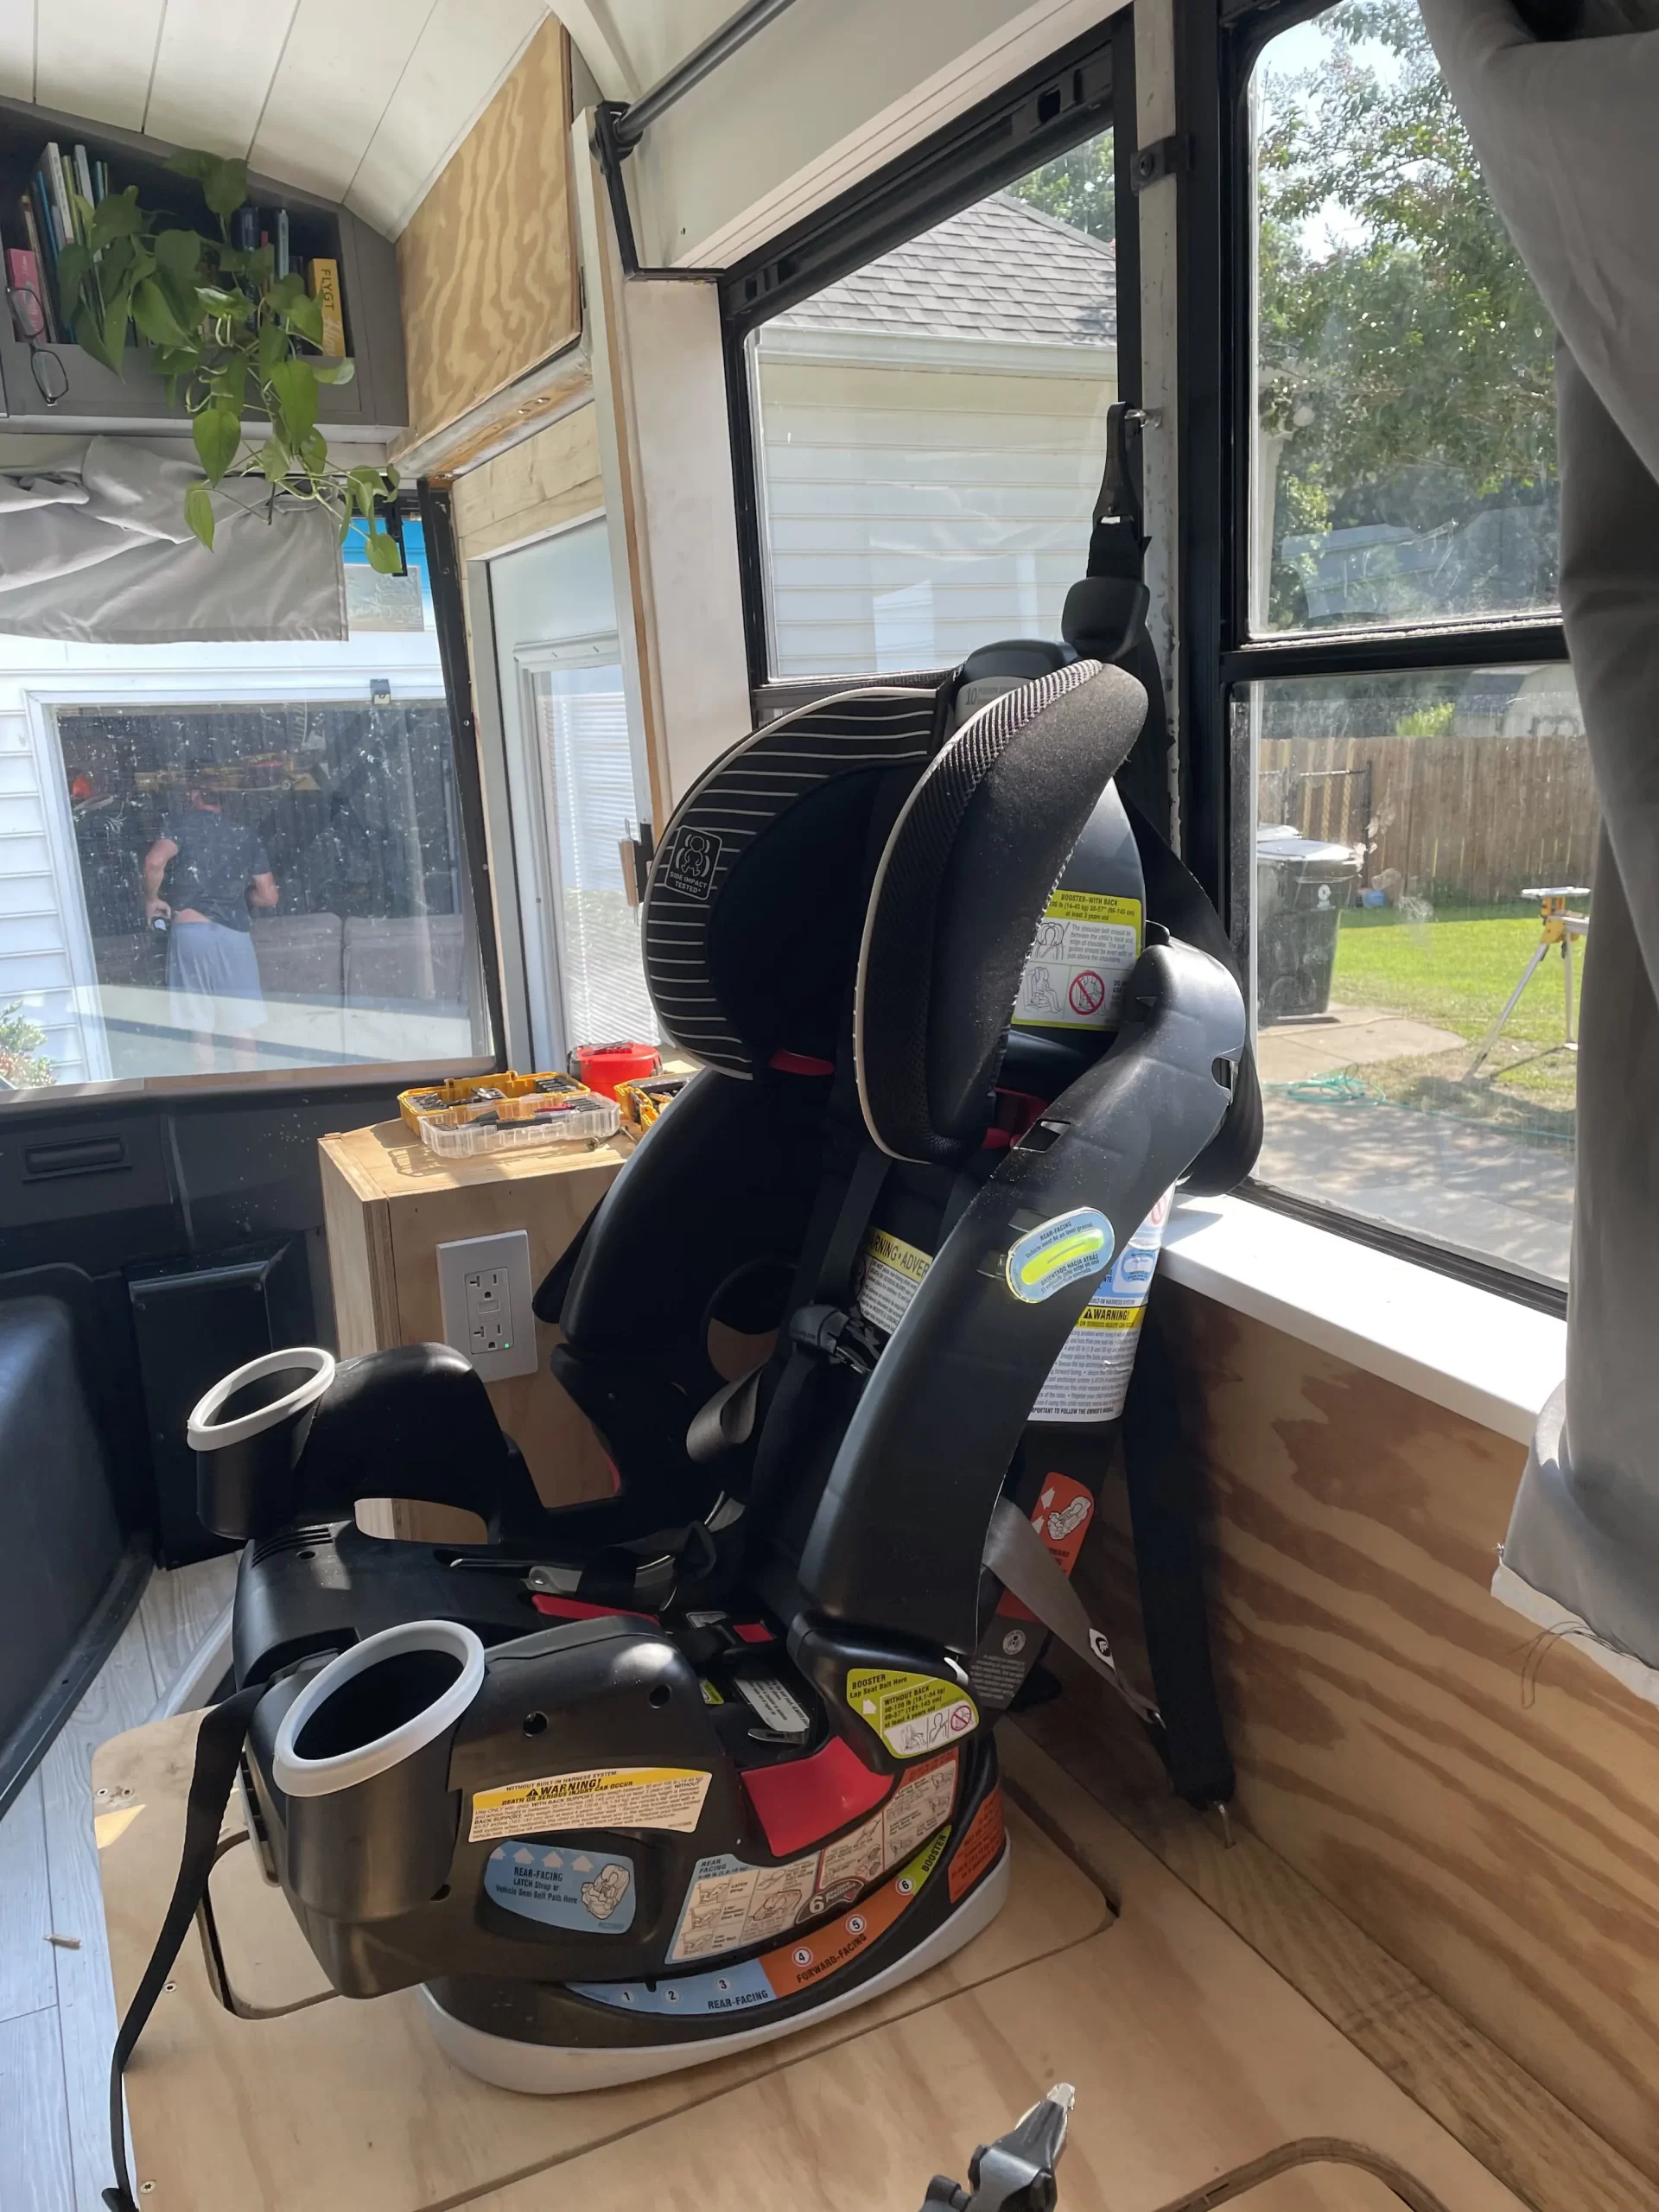
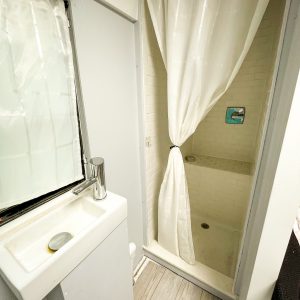
Having a dedicated wet space
We love being able to use our shower to store gear, scooters and our outdoor rug when they’ve gotten wet outside. It is so lovely to have a dedicated wet space where things can drain and we don’t have to worry about water escaping.
Cleaning your compost toilet weekly
Our best practice is to dump the waste in the bag and clean the bucket & urine diverter with soap and water at least once a week. Our compost toilet is comprised of a 5-gallon bucket with a garbage bag and a urine diverter going to our gray tank, located under the bus exterior.
When we first started living in our
After using the urine diverter, we make sure to spray it with a mixture of vinegar, water with a few drops of essential oils. Poopuri spray is great to keep on hand too because the bottles are so discrete.
Treating your gray tank
We treat the waste in our
We prefer to drain our gray tank weekly. Since we have a 100 gallon tank, it can take up to 30 minutes to drain. Instead, we like to drain weekly as part of a normal cleaning routine and that cuts down on time to drain the tank.
Read this blog to see how we determined what size gray water tank we needed for our family size.
Installing a water filtration system outside & inside
Keeping clean, filtered water on-demand is important to us. When filling our 100 gallon fresh water tank, we have an in-line filter, which reduces sediment and some bacteria.
At the kitchen sink, we have a second filtration system to filter out bacteria and more deposits. This gives us clean drinking water. Before we installed this, we were purchasing loads of plastic water jugs, and that takes up so much space in a tiny place. We’ve found this system to be so convenient and low-maintenance.
See a detailed list of products we purchased for our skoolie transformation here!
Getting outside at least once a day
Fresh air is really important to us, so we try and get out for walks every single day. Even if it’s just for an hour, getting fresh air is essential! Even when the weather is bad, we do this.
Living in a tiny space, you just need to get out of it to literally stretch your legs. When we dream of this lifestyle, a key thing was for us not to spend as much time indoors and give us the opportunity to explore with our family.
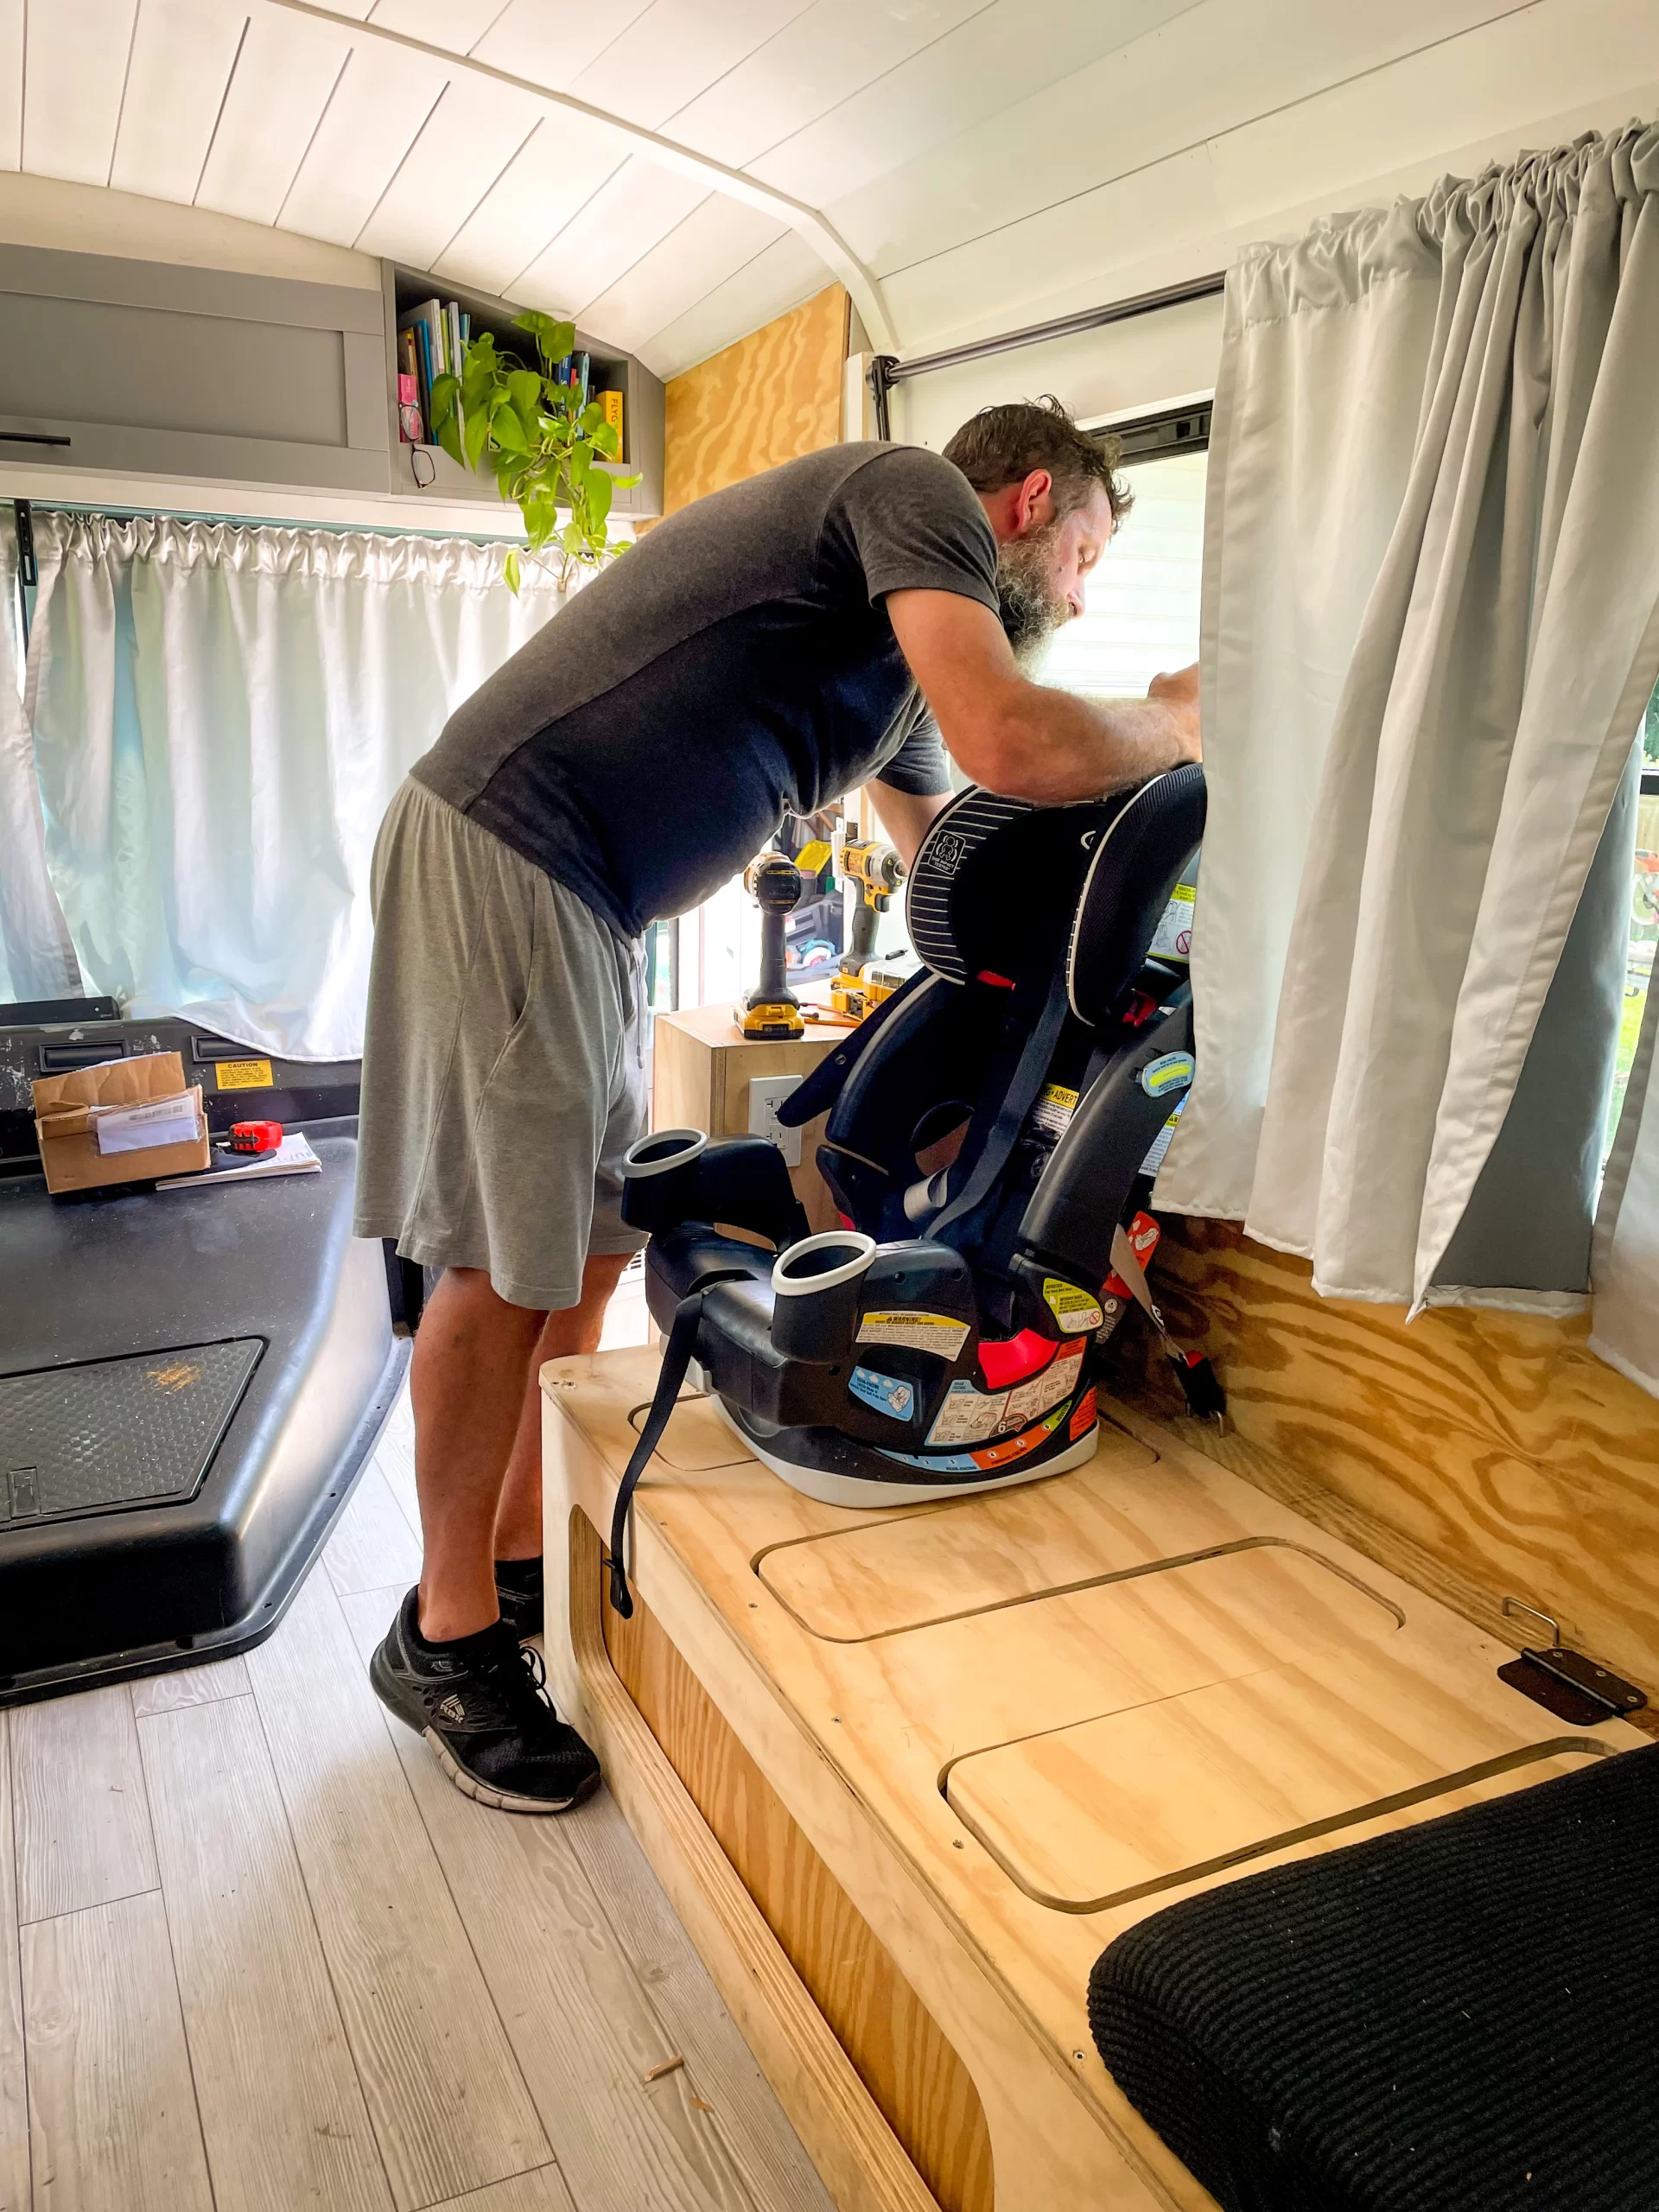
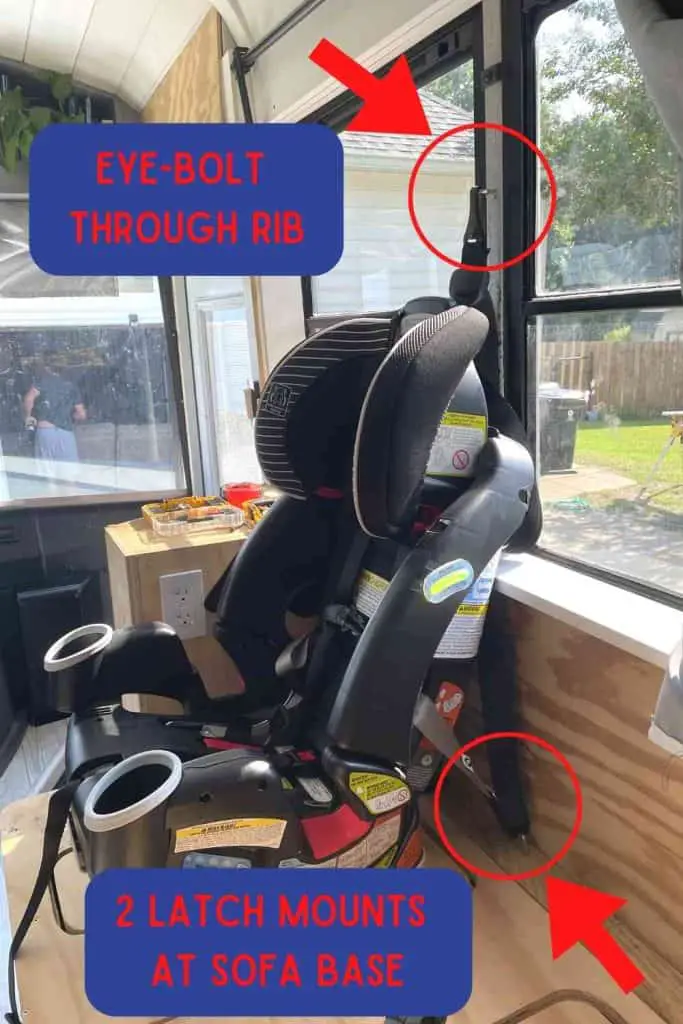
Using your space intentionally
We designed our home to use our tiny space intentionally. For example:
- We have a built-in shoe caddy so shoes come off immediately. Coats are kept at the front of the bus in a basket behind the driver’s seat.
- We installed outlets with USB & USB-C ports so we can charge electronics easily without a “dongle.”
- We have hooks in each room so nothing lands on the floor.
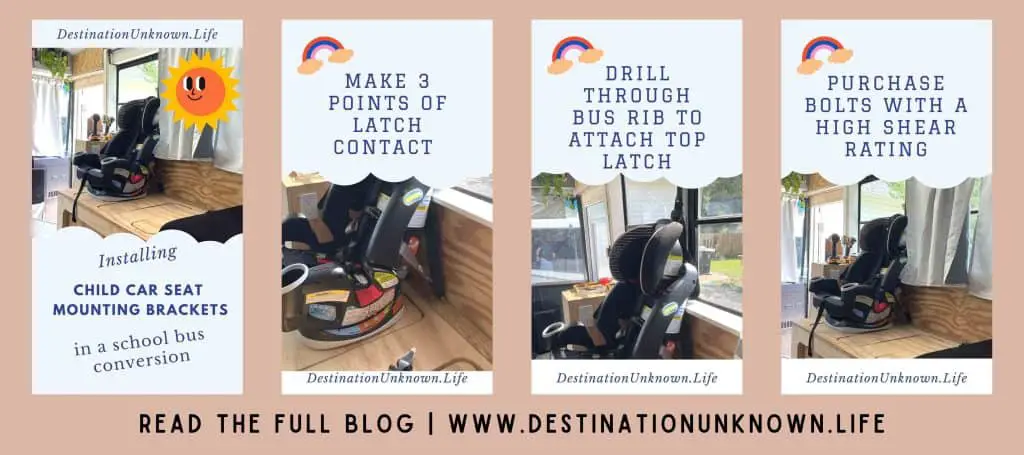
- We built a custom cabinet above the captain’s quarters for clothing storage and diapers.
- The children’s bunk beds have a storage compartment for clothing and another space for toys.
We truly enjoy having a place for everything, and everything in its place. Things don’t get misplaced and nothing falls out of place when driving.
Removing packaging before it comes into the bus
Living in a
We do this by:
- Purchasing dried or concentrate items, like JOI Plant Milk concentrate
- Bagging groceries directly into our cart (no plastic or paper bags)
- Removing things from their boxes, like cereal boxes around the plastic bags
- Repackaging things like dried beans into storage containers that fit our storage space
Purging unnecessary items frequently
Purging as part of a normal cleaning routine happens seasonally. We go through our belongings and keep what we need and what we’re going to use often.
When we travel, we feel it’s important to not overwhelm your space. If it doesn’t have a dedicated space or the item no longer serves us, we remove it from the space.
Perform weekly engine maintenance
Like any automobile, performing routine maintenance and giving your
We do this by:
- Checking the fluid levels before we drive
- Performing regular brake checks as we drive
Run your AC or heat source weekly to keep moisture levels down
When the exterior temperature differs greatly from the interior temperature, moisture builds up. If that moisture has no where to go and the interior space doesn’t dry out, mold and mildew can grow. We start to see this first along window sills.
We combat this by running our AC or other heating source weekly, especially during the winter months and during the rainy season. In the summers, we frequently have our windows open so we are able to keep air flow going.
What hacks have you created for living full time in your tiny home on wheels? Are 12 hacks for living in a
Watch our full skoolie tour!
Thanks for following our journey. – Ingrid & the HildeFam