Absolutely, a skoolie or school bus conversion can tow a car. In nearly all cases of vehicle towing, a skoolie will be able to tow a standard car, truck, jeep, and even trailers. These former commercial vehicles have very strong chassis and powerful diesel engines, so they can put up typically with towing behind vehicles and even trailers.
Where you run into difficulties is if your vehicle can be towed at all. Many newer model vehicles can’t be towed, and you can find that out by looking at the owner’s manual of your vehicle. This was actual the case with our 2018 VW Atlas – the manufacturer guidelines said it could not be towed behind any vehicle for long periods.
Comprehensive Answers to Common Skoolie Myths
We aim to bust the common myths you read about school bus conversions by providing solid resources and research from the skoolie community.
Installing an after-market tow hitch on a skoolie is a relatively simple thing to do (after having built out an entire rig anywa). Simply purchase an after-market tow hitch kit like this one from Curt and bolt or weld to your skoolie. Make sure the tow hitch kit includes a light kit or buy a light kit so you remain safe and compliant on the road. You may also want to consider adding magnetic lights to keep on your towed vehicle while pulling.
Here’s a video of someone installing a hitch on their skoolie.
Here’s a tutorial on how to install a tow hitch on a skoolie.
Why should I not tow a vehicle behind my skoolie?
Towing a vehicle behind an RV is first and foremost a personal preference. Some reasons why you may elect to not tow a vehicle behind a skoolie and drive separately are:
Car Seats You prefer to drive with your children in car seats per factory instructions.
Comfort An unairconditioned bus is hot for passengers to sit in.
Motion Sickness Some passengers get motion sickness, so driving separately may be their best solution.
Personal Vehicle Cannot Be Towed Per the Manufacturer This was the case for us. Our newer model VW didn’t allow long-distance vehicle towing, so we had to drive separately.
Conclusion to “Can a skoolie tow a car?”
I hope this post answers the common question of whether a skoolie can tow a vehicle behind it. If you tow a vehicle behind your skoolie, let me know in the comments your experiences with it.
If you like this post, check out this other skoolie-related content:
Disclosure: Some of the links in this article may be affiliate links, which can provide compensation to me at no cost to you if you decide to purchase a paid plan. Thank you, if you do. As an Amazon Associate I earn from qualifying purchases. This site is not intended to provide financial advice and is for entertainment only. Read our affiliate disclosure in our privacy policy.
Is it Possible to Insulate a Completed Bus Conversion?
In short, no! It’s not possible to properly insulate a bus conversion after the construction is complete. Installing insulation in a bus conversion or skoolie works the same as installing insulation in a home. You’ll place it between the ribs or studs and between the outer and interior walls. If all your walls are closed up, then then you can’t add more insulation easily.
What are the Benefits of Insulating a Bus Conversion?
If you plan to live in your bus conversion or skoolie for a longer period of time, then you’re going to wish it was insulated for a few reasons.
Temperature variances lead to moisture and moisture leads to mold
Temperature variances like the cold exterior against a warm interior (or vice versa) will create condensation where the two temperature zones meet, a thermal bridge. You’ve probably seen this occurring in your own cool home or car on a hot day along a window sill or on the glass. Do you remember the steamy car scene in the Titanic between Rose and Jack?
You may even have seen mold or mildew in these locations. Imagine this happening throughout your entire tiny home! To make matters worse, if you have finished interior walls over uninsulated exterior walls, then this moisture build-up will occur where you can’t see it.
Adding insulation with a high R-value will create a thermal break, which is just a fancy way of saying a product that separates the two temperature zones.
Energy-efficiency
If you have performed an energy audit to determine how much energy you plan to use in your rig, then you’ll understand that trying to heat an uninsulated vehicle is like leaving the door open so the heat escapes. In this metaphor, the “door” is actually your uninsulated walls, ceilings, and floors.
It is worth mentioning that you can also replace your original windows with an insulated glass product, which will help with efficiency too.
What are the Cons to Insulating a Bus Conversion?
These are the most common cons to insulating a bus conversion that I’ve come across through forums and Facebook groups. These aren’t based on my opinions because I fully support insulating an RV for a number of reasons, which are highlighted in the Benefits section.
Cost
Insulation costs money and if you’ve got a tight budget this may not fit into it. To put it in perspective, we used spray foam products by Tiger Foam and it cost us around $1,000 to do it ourselves.
Health and Sustainability
You may not have access to environmentally-friendly insulation (like wool), and don’t want to place more chemicals around your home than necessary. My husband had to wear a body suit with ventilated mask to install the spray foam product we used. Fiberglass insulation requires the use of gloves, long sleeves, and masks as well.
Time Constraints During Construction
If you’ve got to complete your build quickly, then you’ll save time by skipping this step.
Occupancy
If you’re going to use your rig seasonally or for short-term trips like a weekend warrior, then maybe it’s not so important to insulate.
Mild Climates
If you live in an area where the climate is mild year-round and you have your windows open all the time to capture those perfect temperatures, then skipping insulation could be okay. This reasoning is why this couple in Hawaii chose not to insulate their van.
To insulate or not to insulate
What do you think about this topic? Would you ever build a bus conversion and skip insulation? What products did you use in your rig and why? Let me know in the comments below.
If you’re considering building a skoolie of your own and don’t know where to begin, check out these blogs to help get you started:
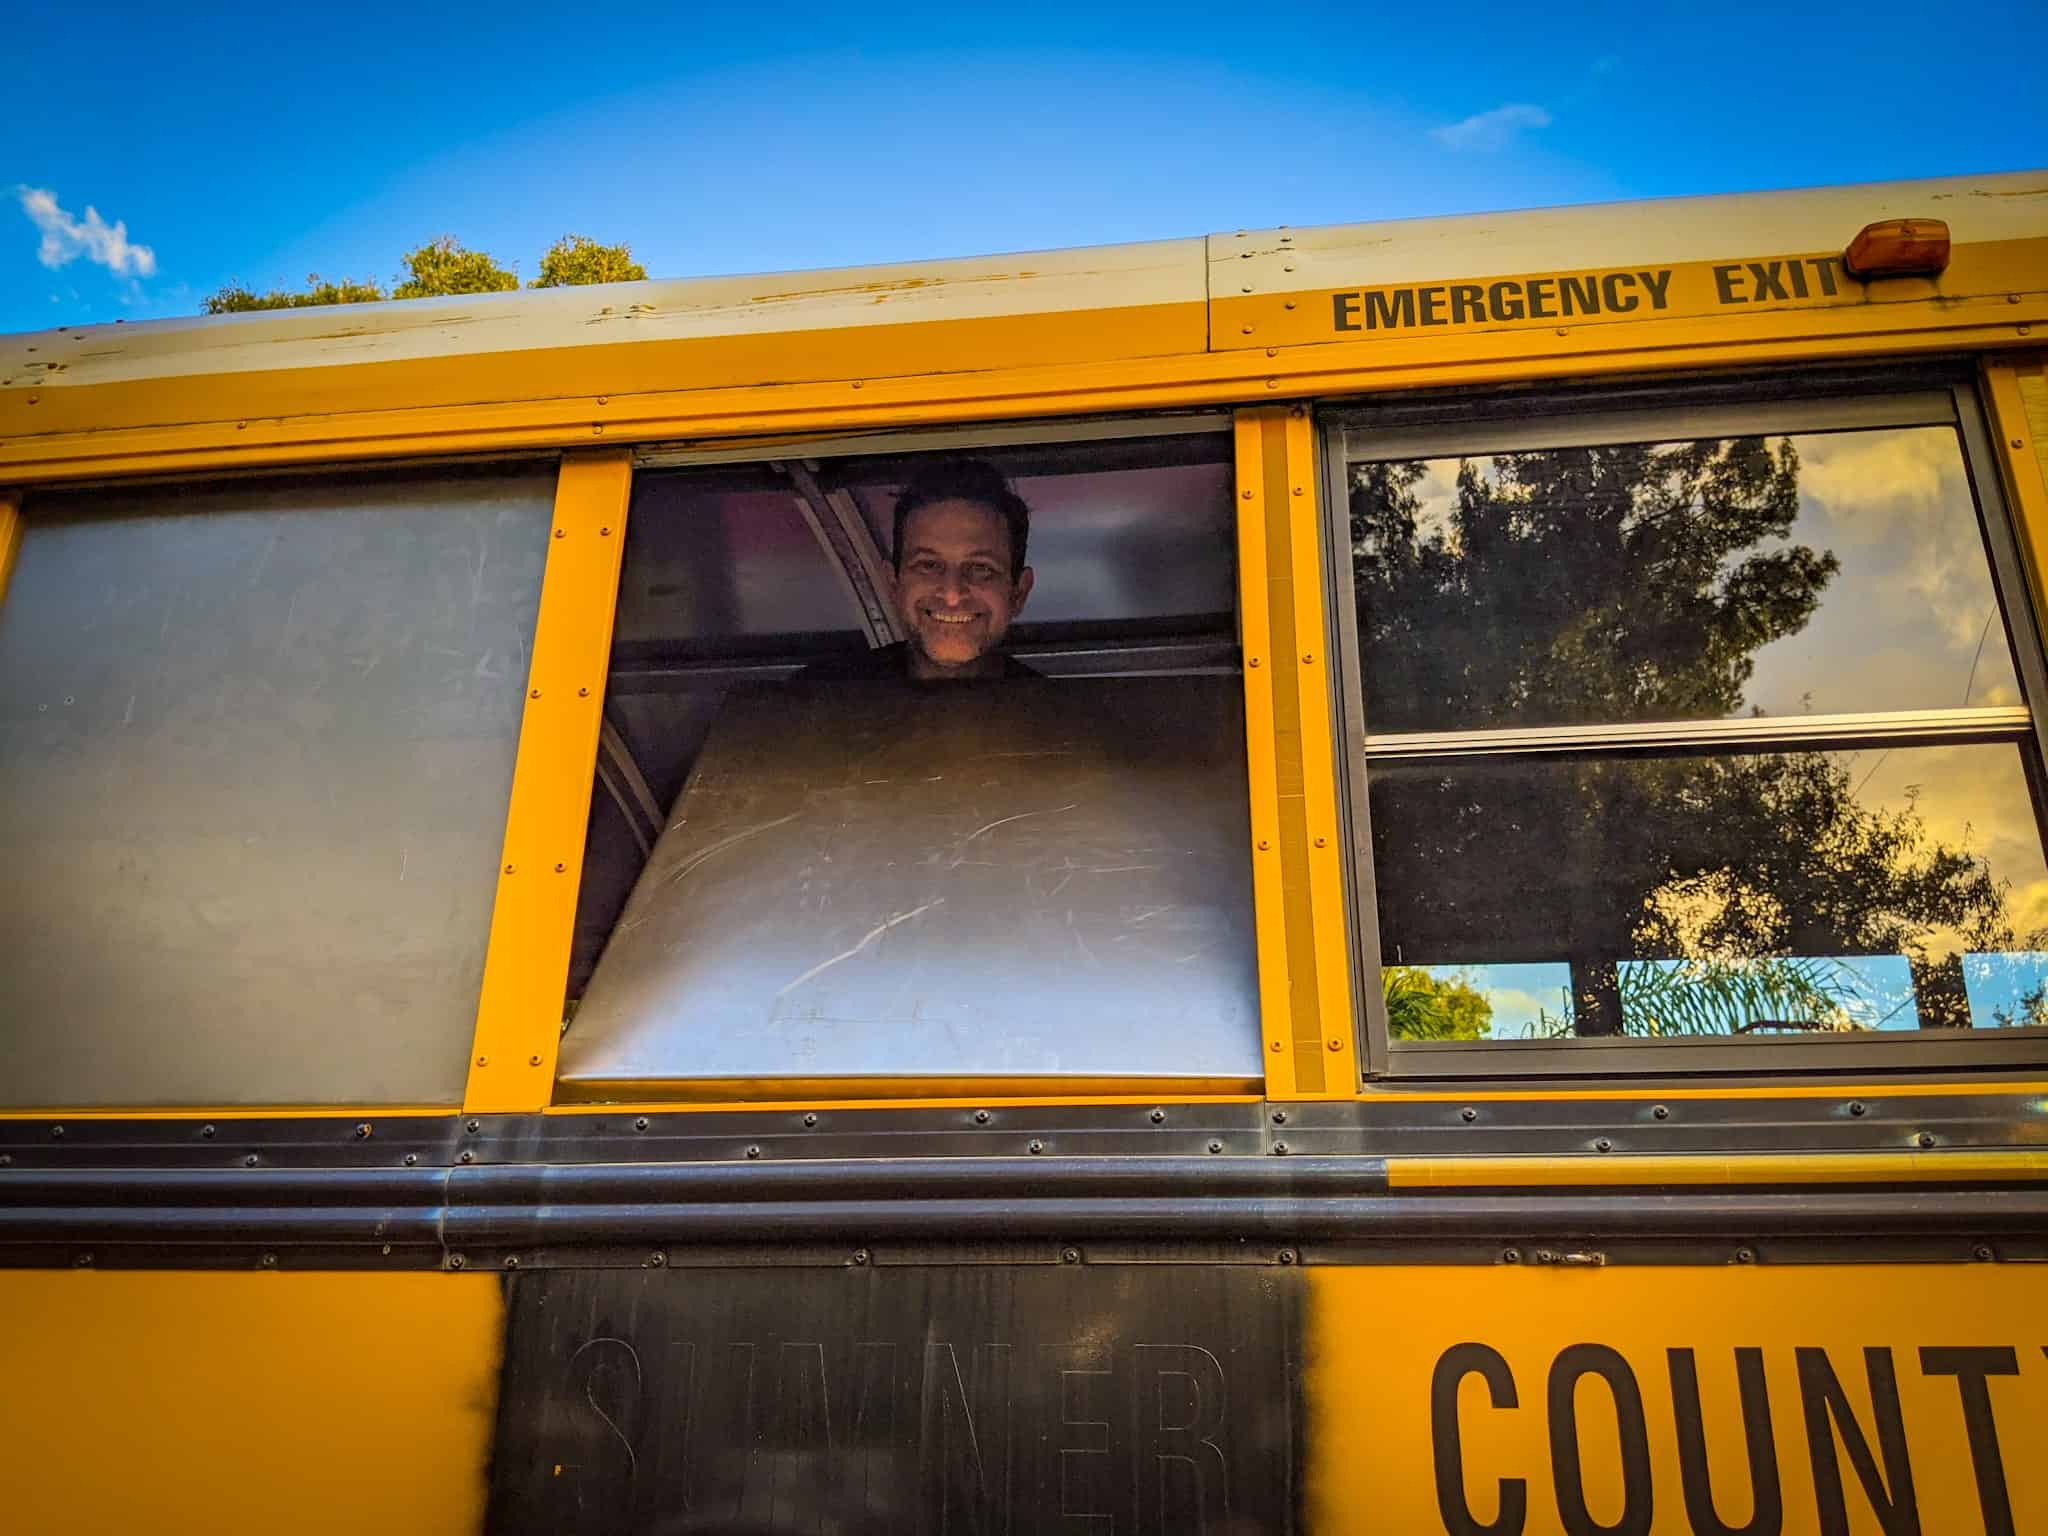
A skoolie roof raise is the process to modify the original school bus manufacturer roof height (approximately 6 feet 2 inches to 7 feet) to a desired taller height (usually between 11 inches to 16 inches taller). This can be an intermediate level DIY project or you can pay a professional.
You may be interested in raising the roof of you bus for a few reasons, like:
Personal height
Additional storage
More roomy feel
Upgrade of windows
Better floorplan options
The goal of this blog is to be a resource for someone interested in raising the roof of their bus and to guide them to make the best decision for them based on the budget, timeline, and personal height requirements they have.
Listed below is information to assist you in going the DIY route or finding a professional to assist you in your tiny home bus renovation.
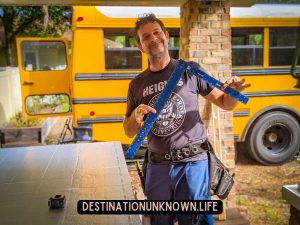
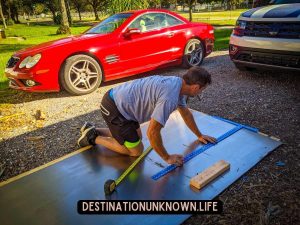
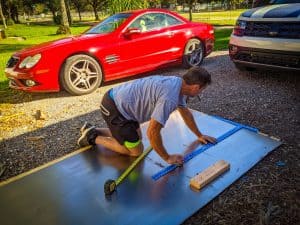
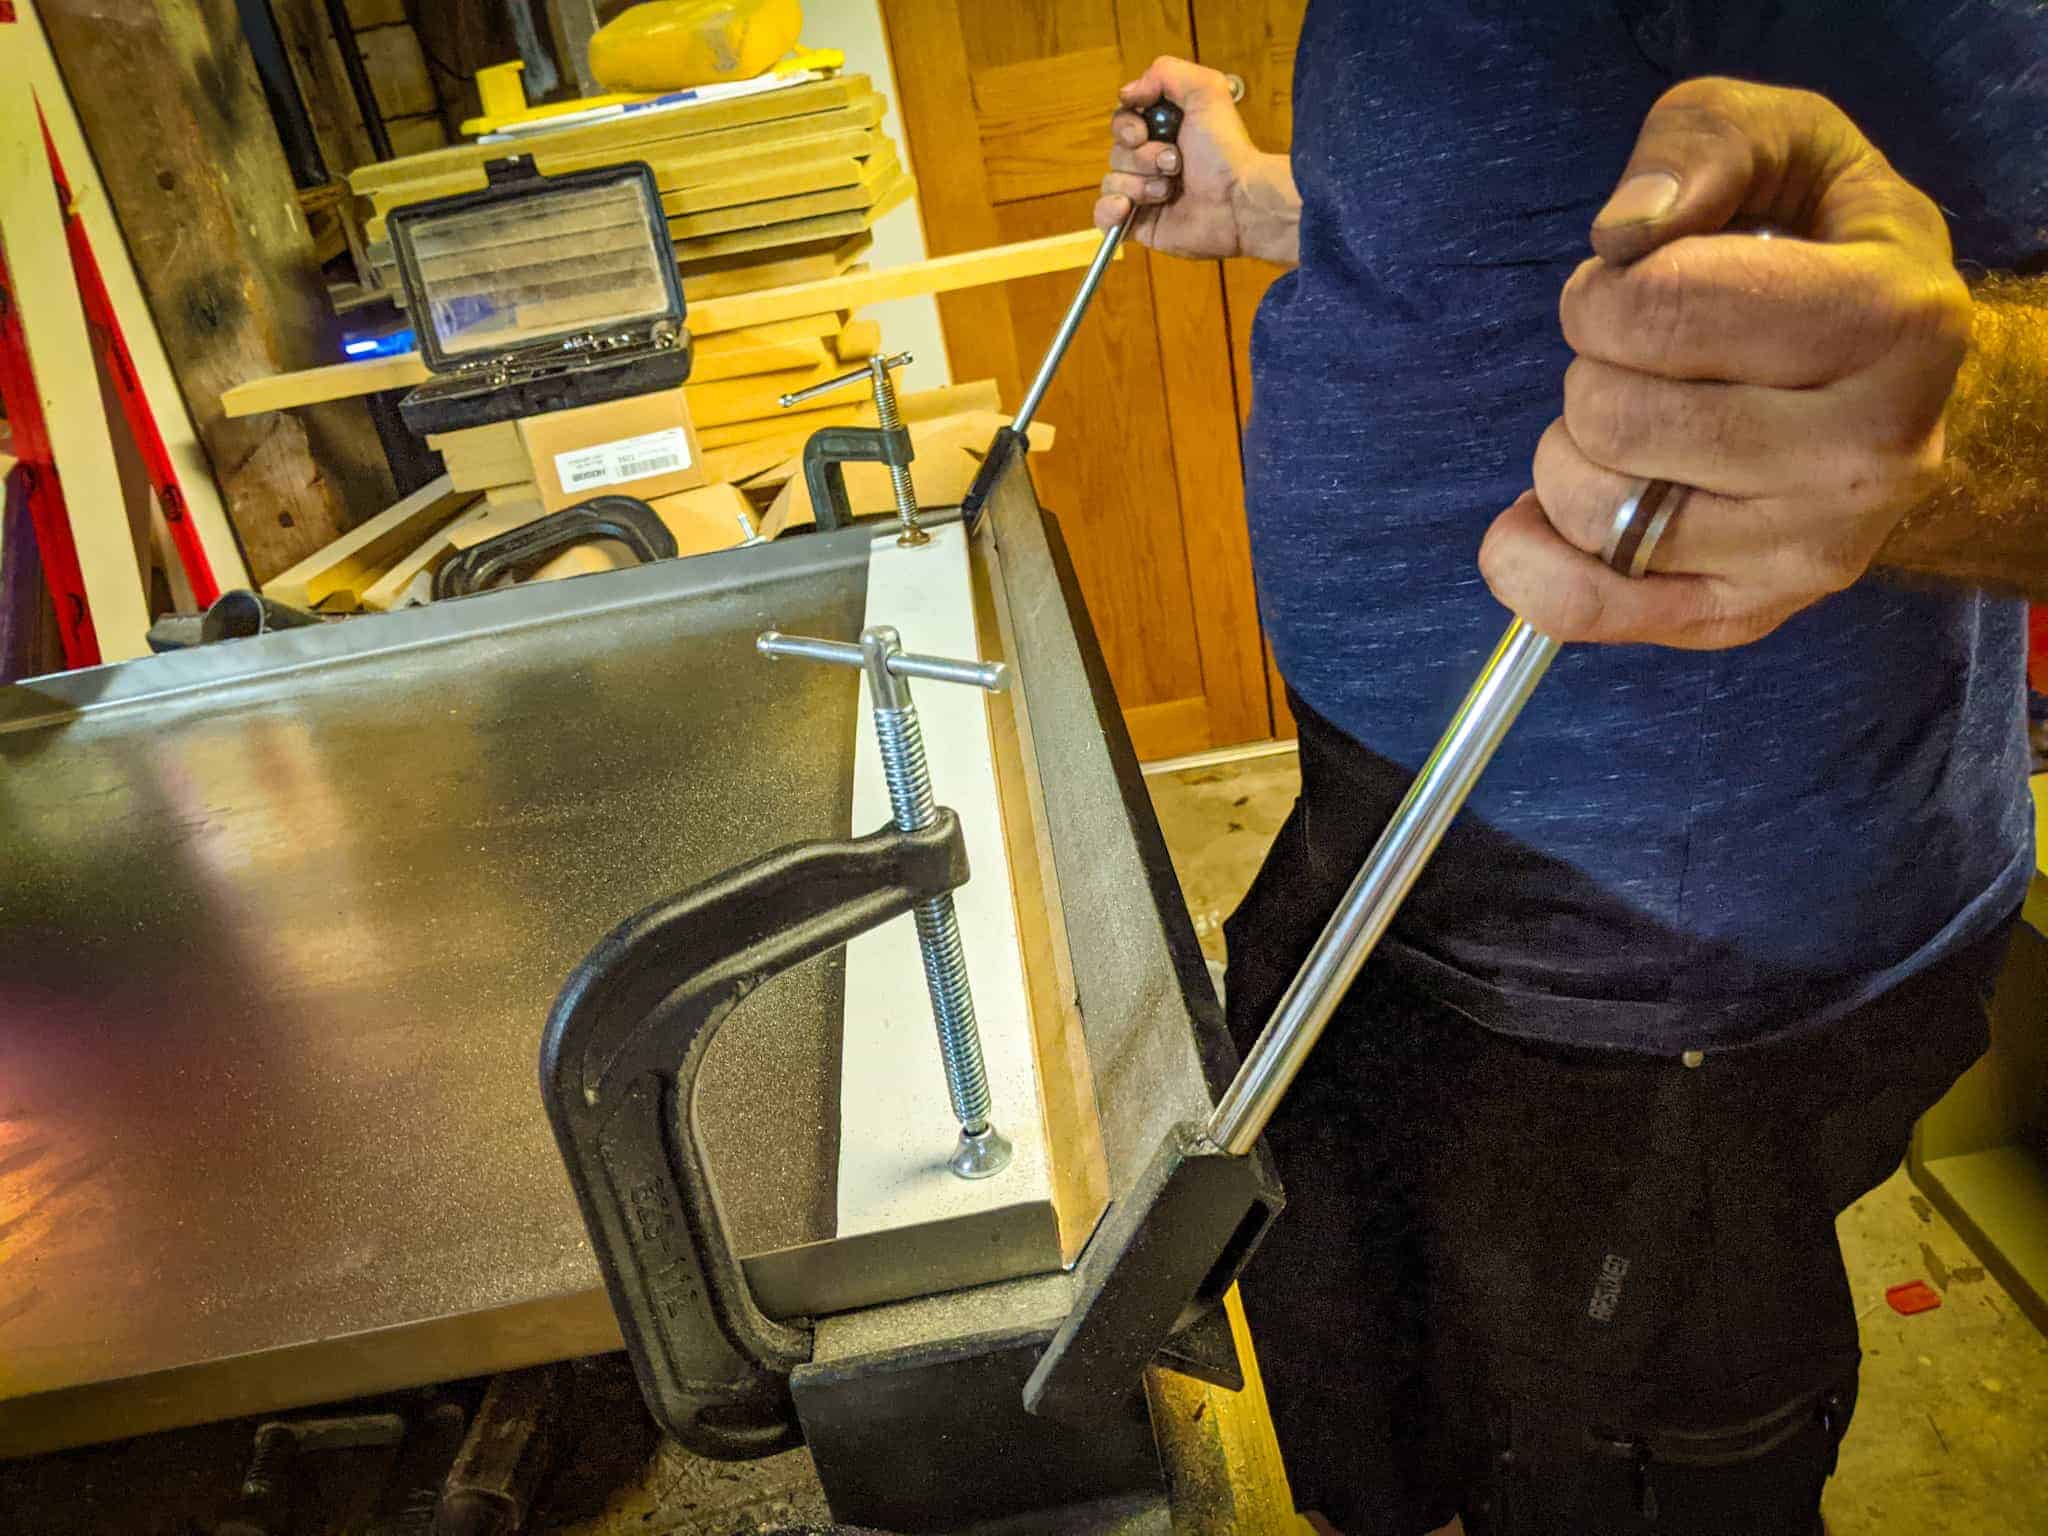
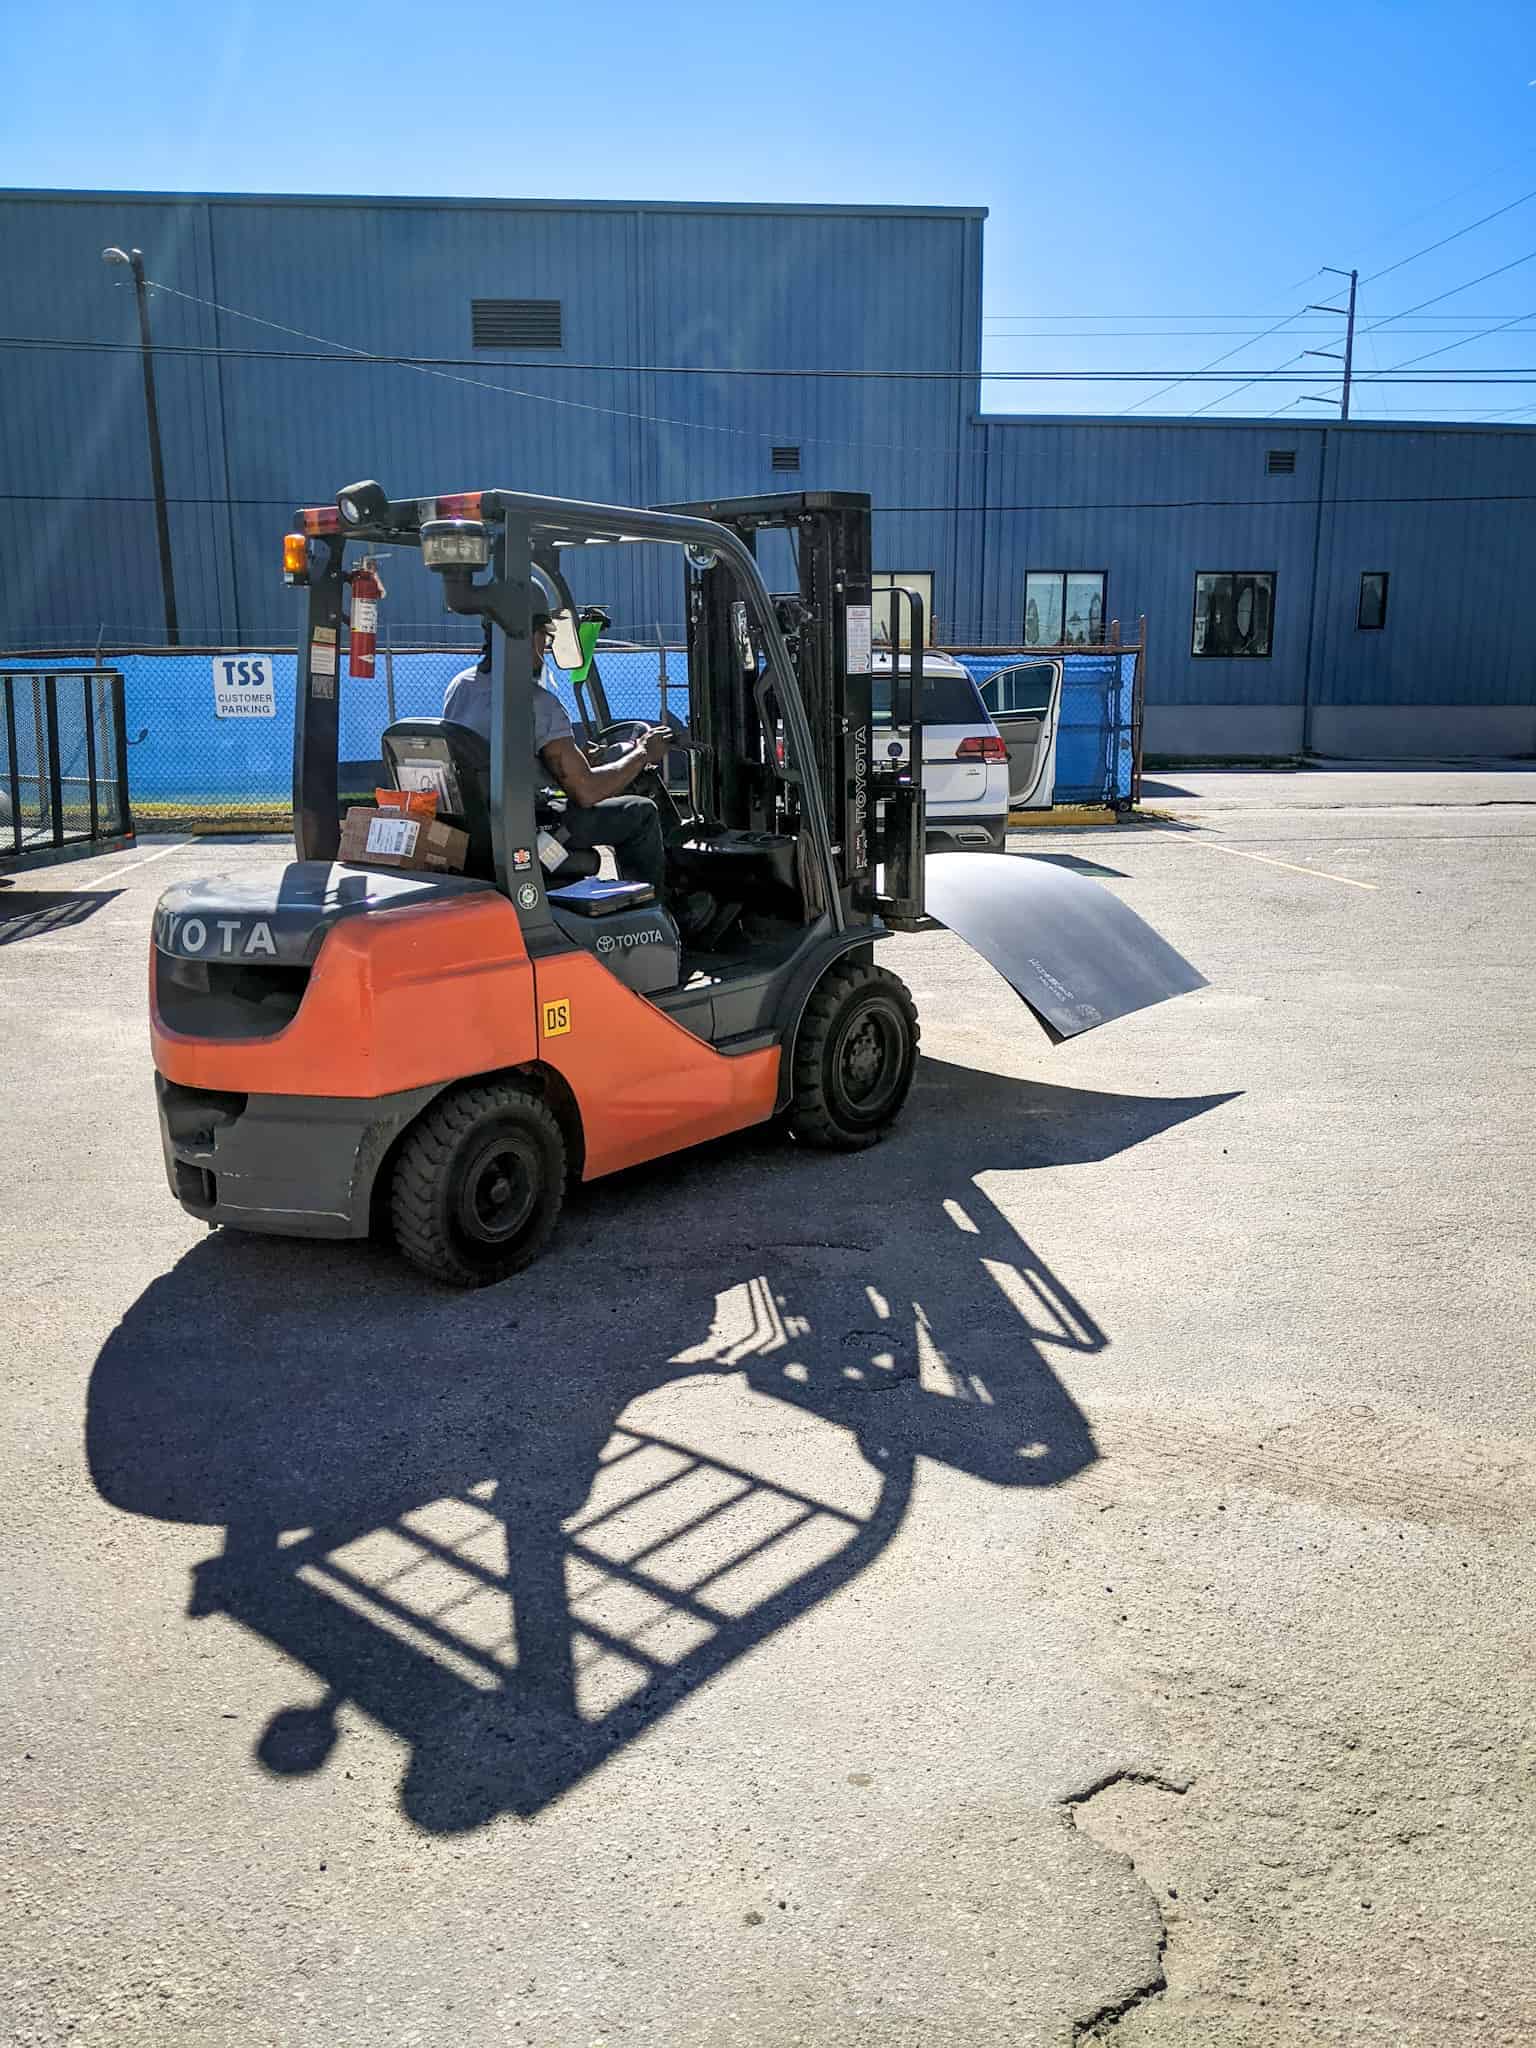
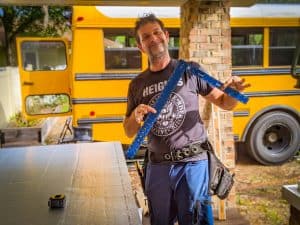
Eric measuring sheet metalEric bending sheet metalEric inserting a sheet metal frame into school bus window frame.Forklift carrying sheet metal
COVER PHOTO | What is a skoolie roof raise? | Destination Unknown
How high is an unmodified school bus roof?
The interior height in the center of the bus (the highest part of the bus) will vary from manufacturer to manufacturer, but it is typically between 6’2″ to 7′ high.
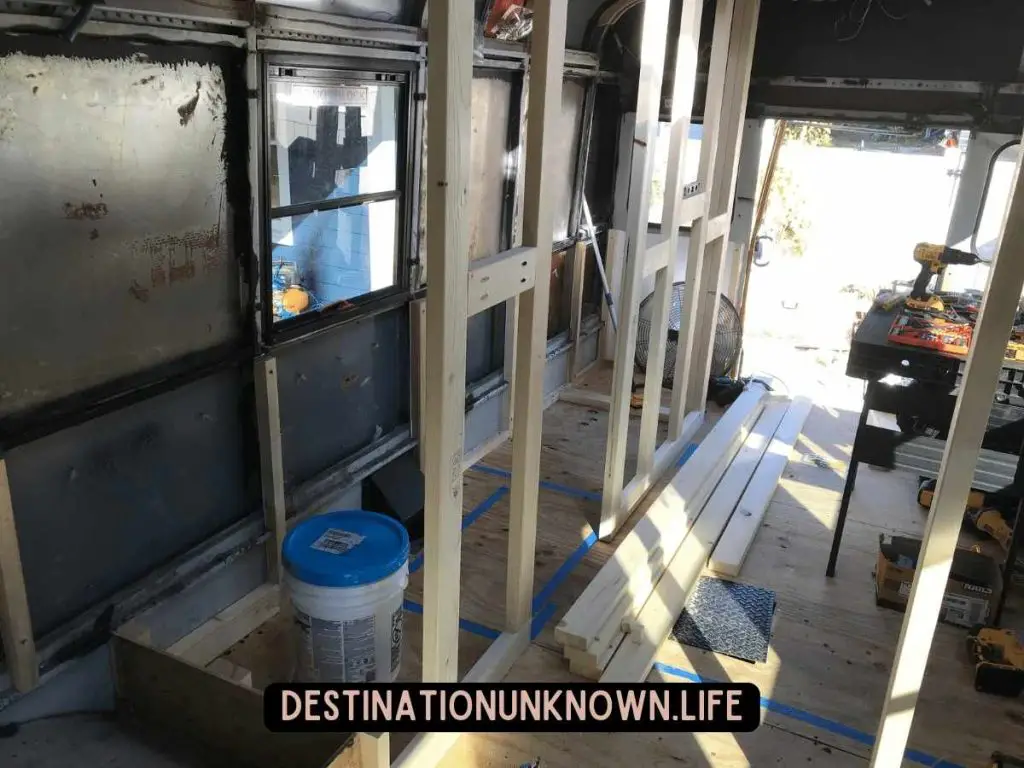
Factors that will affect the interior height of your completed school bus conversion will be any additions to the floor (like furring strips, insulation, sub-flooring, finish flooring) and to the ceiling (like insulation, furring strips and finishing pieces like shiplap).
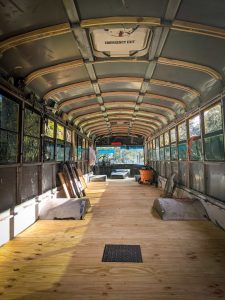
During our build, we estimate that we lost 3 inches in the floor and 3-4 inches in the ceiling. The interior height in our skoolie is about 6’3,” without a skoolie roof raise.
Empty school bus interior showing
How much does a skoolie roof raise cost?
Paying a professional to raise your school bus roof can cost upwards of $10,000, making it one of the most expensive upgrades you could pay for on your skoolie build.
The cost of supplies is relatively affordable, at approximately $1,000 for purchasing all new items.
If you are considering doing a roof raise yourself, then this will be the most cost effective route and your price range should be below $4,000, assuming you pay at least one person to help with labor. If you are a one-man-show, then you should only have the cost of any supplies you need.
Additional considerations and ancillary costs in raising the roof are replacing windows and to do a full or partial roof raise. You may need to remove all windows during a roof raise. In doing so, will you put them back in or upgrade for more weather tight options like RV windows or custom windows.
Cost & Materials Case Study
Check out the Skoolie Roof Raise: Cost and Materials vlog by Artsy Reclaimed where he talks in detail about his costs to perform his 16 inch skoolie roof raise, delete some bus windows and relocate a school bus door, and upgrade the old bus windows with RV windows.
What supplies will you need to do a school bus roof raise?
Simple Supplies & Materials list
Sheet metal (16 or 18 gauge) or other metal sheets
Personal protective equipment
Angle grinder
Air hammer with chisel tip
Bottle jack
All the rivets, self-tapping metal-to-metal screws or bolts
Metal or wood support posts
Gear to replace existing or upgrade new windows
Welding kit
Tin snips
Metal bender
How do you lift a school bus roof?
Simplified roof raise process
Expose the hat channels and remove the windows. You may need an air hammer to assist at this stage to remove rivets.
Cut the steel hat channels supporting the skoolie roof with an angle grinder or similar tool and temporarily support the roof on some sort of posts or pillars.
Use bottle jacks* to evenly raise the disconnected roof to your desired height.
Once your desired height is reached, you’ll weld new steel supports to bridge the gaps you created and then remove the temporary supports and jacks.
Attach new sheet metal panels to cover the gaps you created during the roof raise.
*A car jack isn’t recommended since it may raise the roof at an angle, rather than straight up.
What skill level is needed to do your own skoolie roof raise?
This activity is not for the faint of heart. This is a big bus conversion project and the entire process can be daunting for someone with an intermediate skill level… or even an expert! Your entire roof literally needs to be suspended above you and then welded back together safely.
Advanced or expert skill is recommended.
Is a school bus roof raise worth it?
It really depends on your budget and personal height requirements.
If you’re 6’8″, then the answer is a solid yes for head comfort alone; however, for those shorter than 6’2″, you could probably live without a roof raise, the price tag that comes with a skoolie roof raise, and the increased building time.
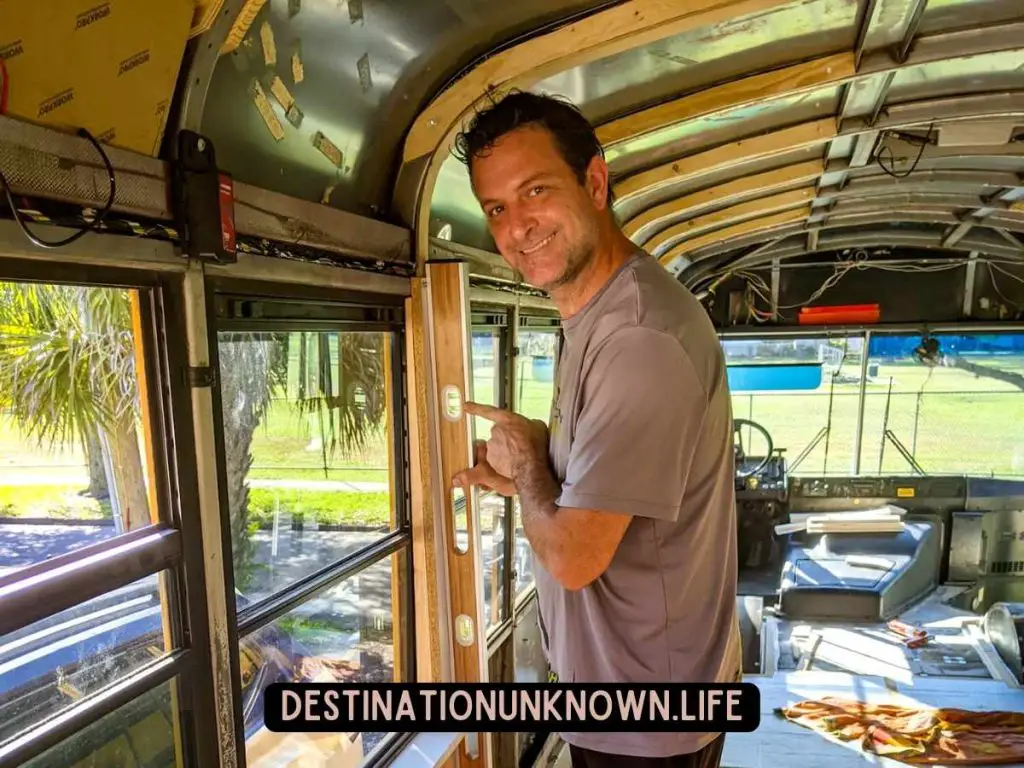
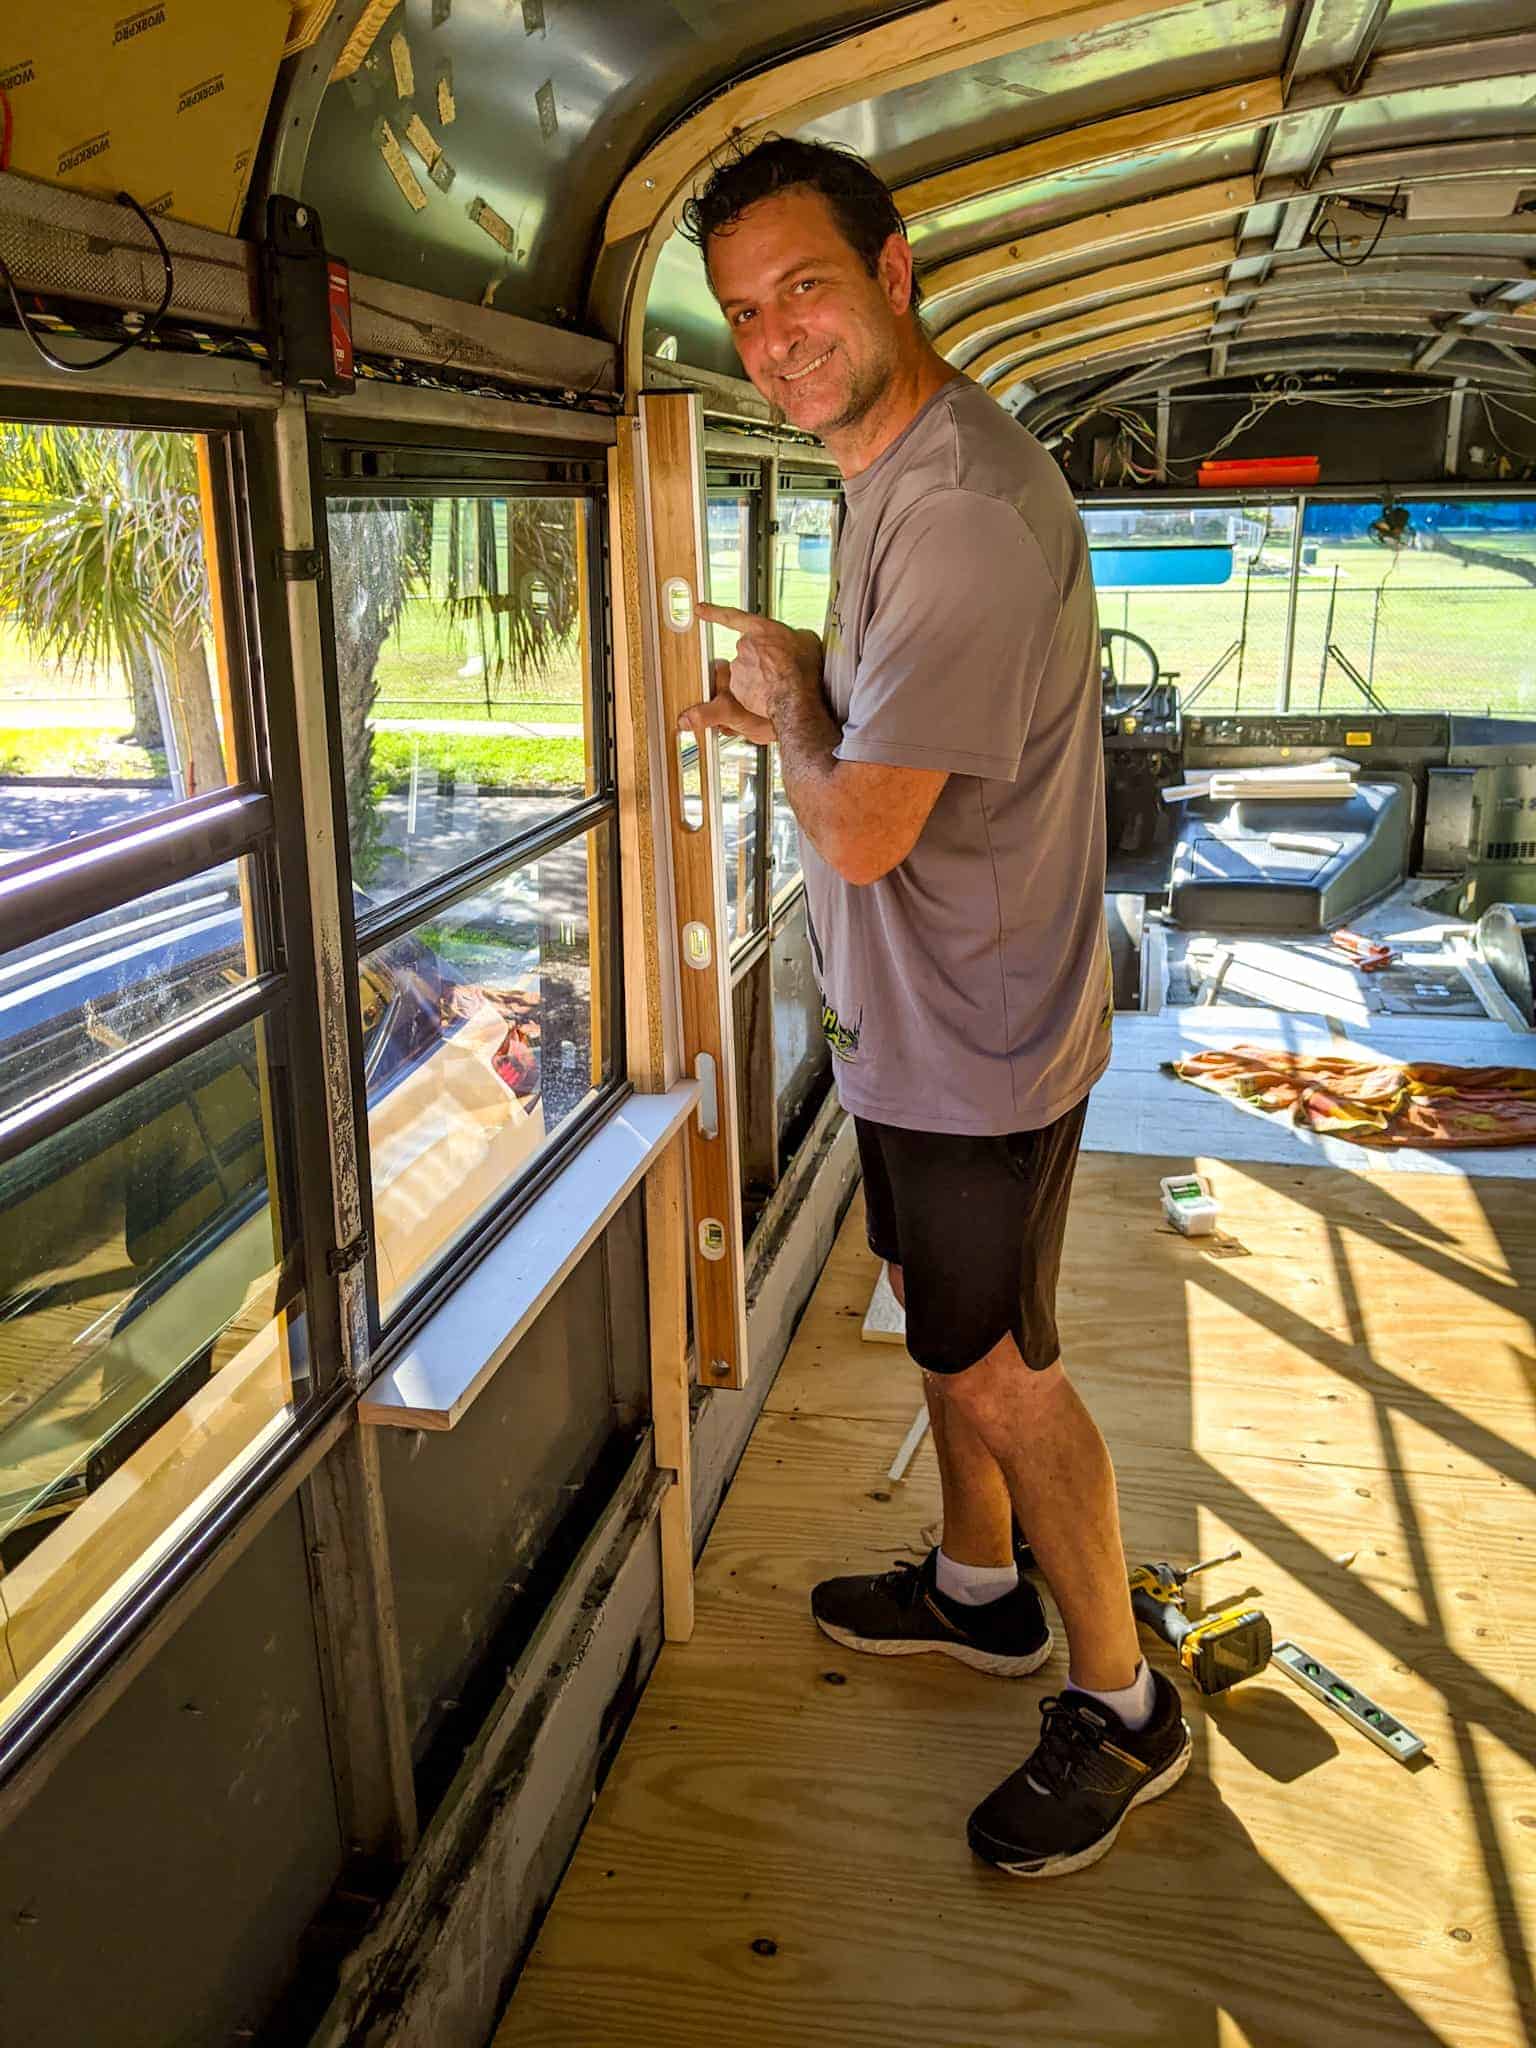
Eric holding a t-square with a skoolie behind him
My husband is 6′ and I’m 5’10.” We did not raise the roof and it has never affected the functionality of living in our bus. The only place we would have preferred a little more space would be in our children’s bunk area; however, they only sleep there so it is not a big problem (more of a preference).
Consideration items
Some other factors to consider if you raise the roof are:
The additional heating costs in cold climates due to increased square footage
Doing research prior to travel to avoid low bridges
Do the pros of a higher roof outweigh the skoolie roof raise cost?
Will you do a partial roof raise, like only in the kitchen area?
What is the maximum height so as to still accommodate additional items like solar panels or a roof deck?
Should you hire a welder to assist?
Should you pay someone to help you raise the roof?
Do you have a metal supply yard nearby? We couldn’t find sheet metal at our local Lowe’s and Home Depot.
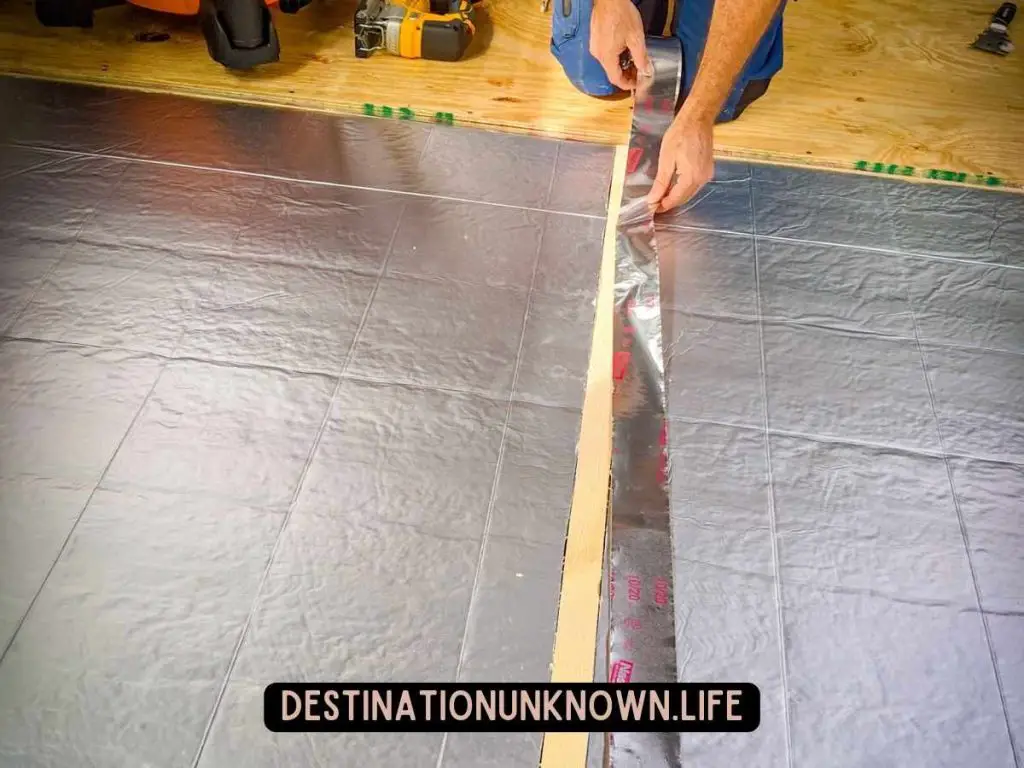
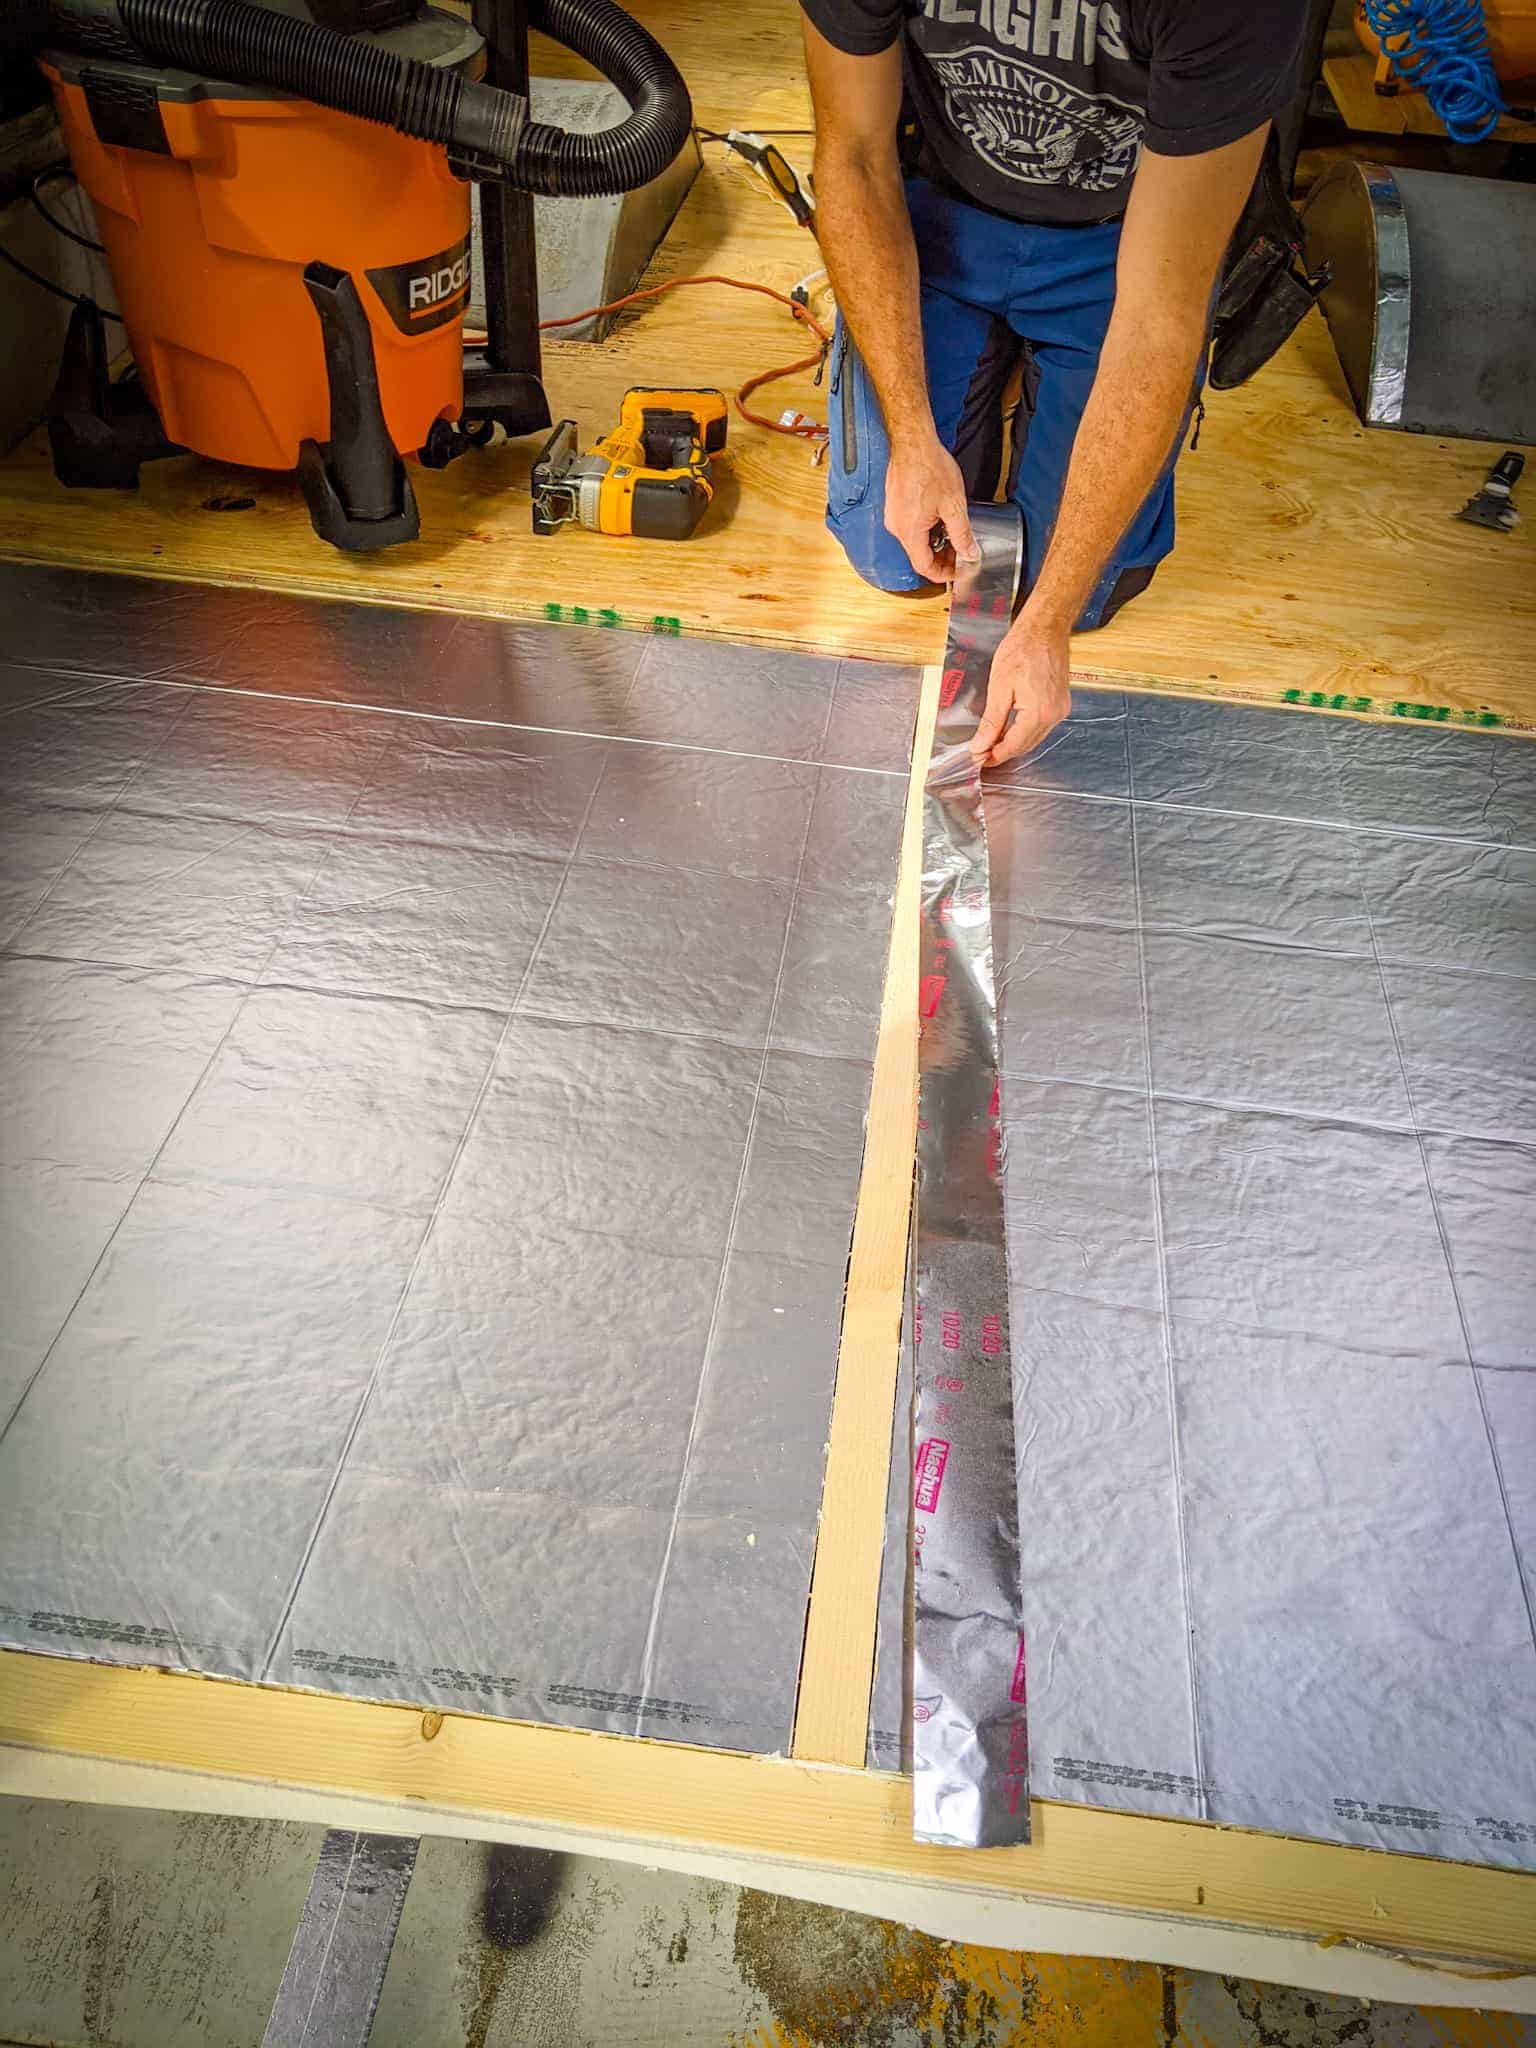
Eric installing flooring furring strips and insulation.Eric installing flooring furring strips and insulation.Eric using the level to during the wall furring strip installation.
Where can you learn to do a skoolie roof raise yourself?
It’s time to raise the roof!
There are a number of owners of school bus conversions that have done a DIY roof themselves, rather than outsource to a trained professional.
They have done a wonderful job documenting their roof raise process on their skoolie build.
Below, I’ve listed some resources that you can look into if you’re planning to do a skoolie roof raise on your own.
I would love to say that I found a kit for you. At the time of writing this blog, I have not! If you have any place that you can recommend, please let me know in the comments.
Pay a professional to do your school bus roof raise
If raising the roof yourself on your tiny home isn’t your cup of tea, there are plenty of professionals out there.
To see a full list of school bus conversion professionals, read this blog!
In my own internet research for this blog, here are a few vendor(s) I came across. I have no affiliation with these people or companies. This is simply a resource to help you save time.
If you can recommend any vendors in the comments, I would be happy to include that feedback for readers.
Roof raise vendors
Transcend Existence – He has a number of YouTube videos documenting his work on other skoolie tiny homes. It appears that he has a stationary location somewhere in the western US and may travel for some conversions depending on the scope.
To see a full list of professionals that can help you at all stages of your school bus conversion, read this blog!
Does raising the roof affect skoolie insurance eligibility?
It depends state to state. We had a lovely experience applying for insurance in Florida for our school bus conversion. In short, our insurance agent was not concerned about additional modifications done to the school bus.
Our insurance rates are very reasonable with good coverage. You can see exactly who we insured our bus with, recommendations for our area and download our exact policy in this blog.
Conclusion
I hope this blog has thoroughly answered any questions you have about what a skoolie roof raise is, costs associated with raising the roof of your bus, materials and supplies needed, resources for how to do your own DIY roof, and resources for finding and pricing out professionals.
Thanks for following us on our journey. If you’re curious about where we started, check out this blog. – Ingrid & the HildeFam
As an Amazon Associate I earn from qualifying purchases. As an affiliate of other programs, I earn from qualifying purchase. Thank you for your support.
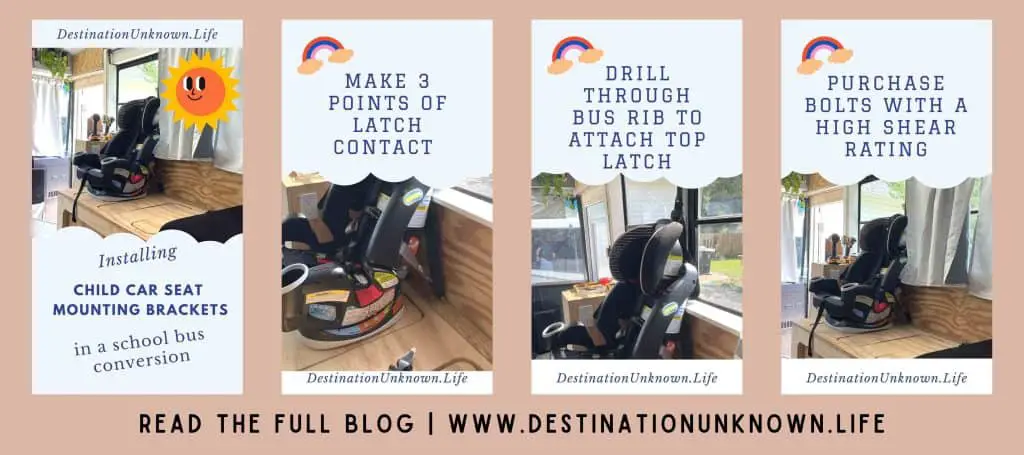
In this blog, we share our process for installing car seat mounting brackets in our skoolie, including a diagram of our school bus conversion car seat latch system.
Disclaimer: We are not professionals and, therefore, are not imparting any professional-level knowledge from the manufacturer to you. We are only sharing what we did. Please do your own research.
How we installed our car seat mounting brackets in our school bus conversion
We built a custom couch in our living room that was attached to the steel frame of the bus.
We decided to have three points of latch contact like a passenger vehicle’s car seat latch system.
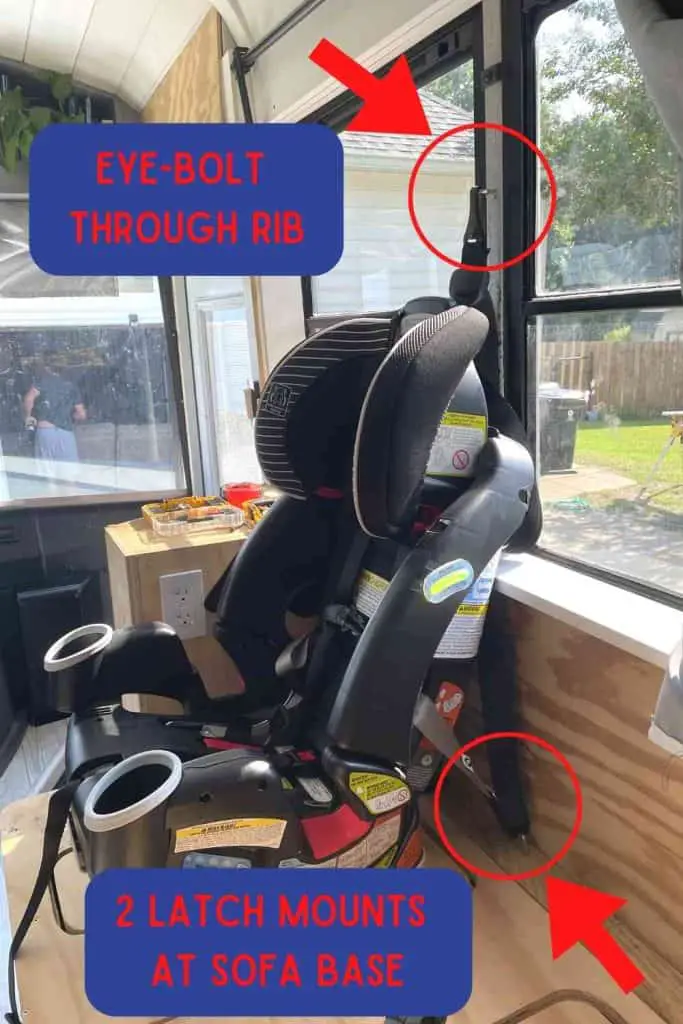
Diagram showing the car seat latch system in our school bus conversion.
Skoolie Car Seat Installation Tips
Overall, the installation is simple. As with most projects, measure twice and cut once. We also installed the same brand car seat for each of our children, so there was no variation in how we would attach our latch points.
Plan the attachment points
Plan to attach the mounts to the steel ribs of the school bus. Since we had to accommodate 3 car seats, we first made sure every car seat would align along a rib of the bus.
Drill the top tether mount
To install the top tether eye bolt, Eric drilled through a rib of the bus to the exterior, between the windows. Install the top tether mounting bracket closer to the base of the couch, so the center of gravity on the mounts stay low. Drilling between the windows requires some steadiness, since a slip may cause the glass to break.
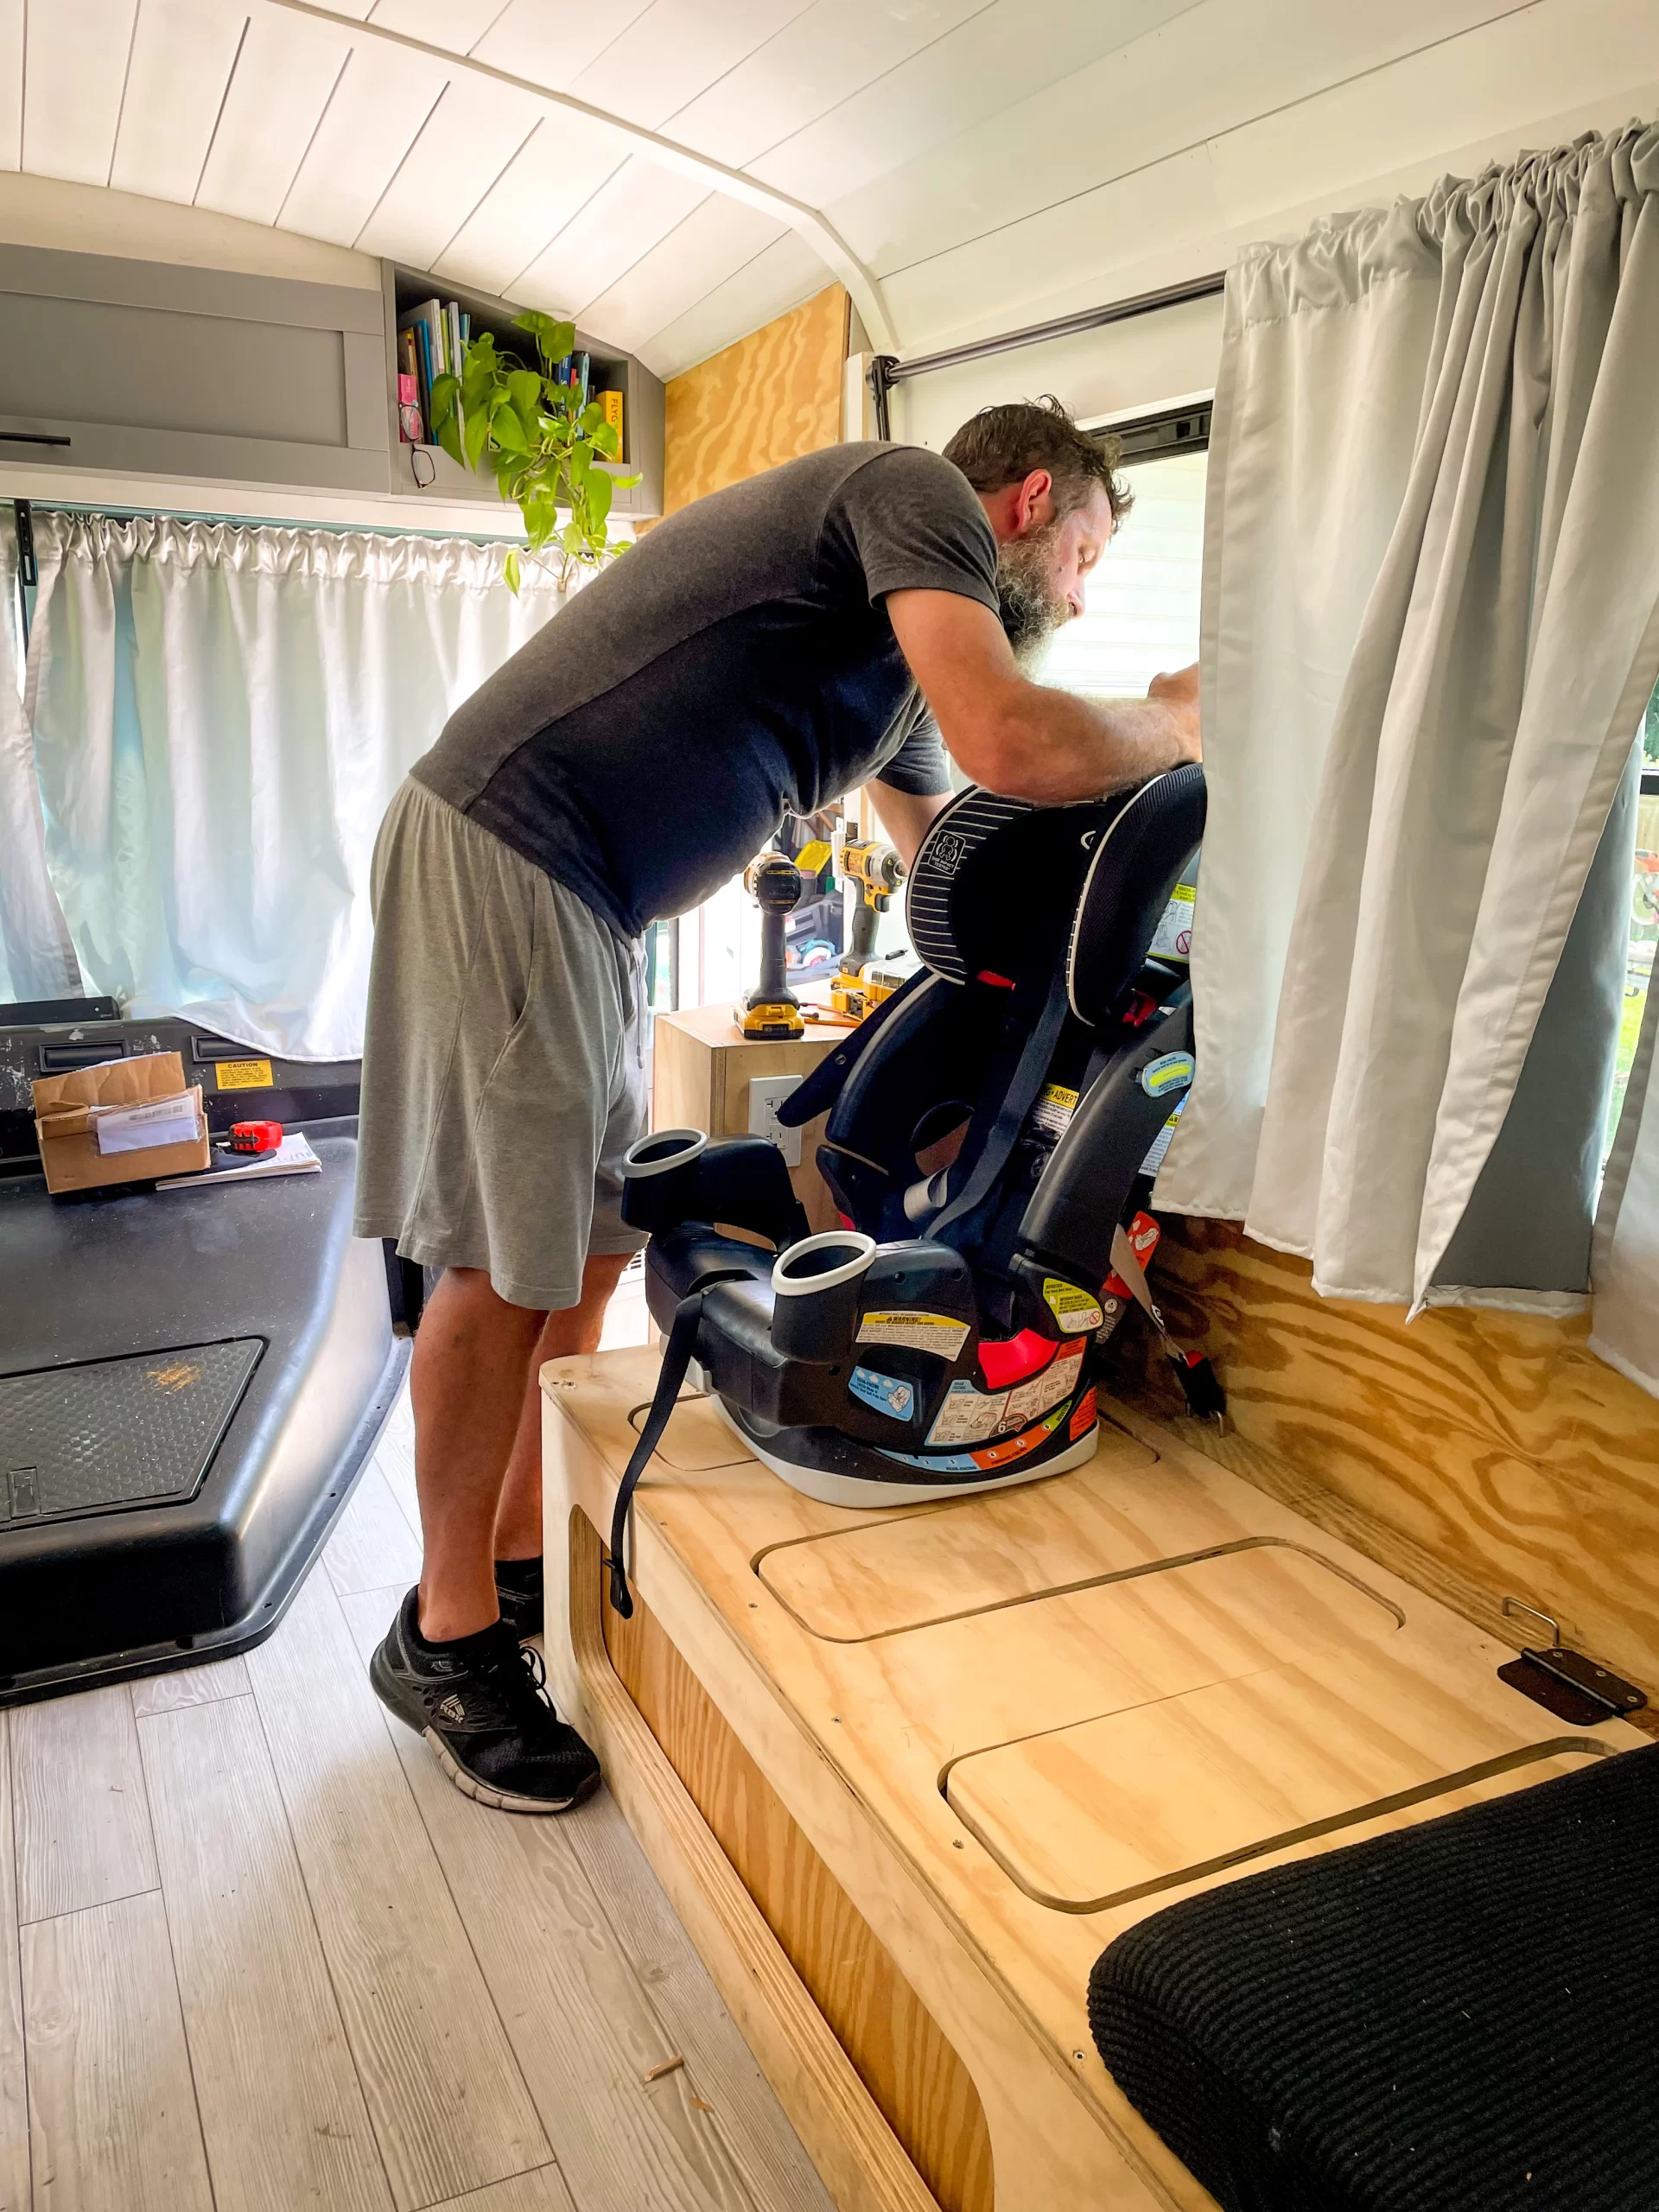
To install the base latch mounting brackets, Eric drilled through the wood in our couch. He installed 2 base square brackets per car seat. He made 2 holes per mounting bracket, for a total of 4 holes.
Purchase bolts with a high shear rating (for example: Grade 8 bolts), so they are less likely to break in a collision.
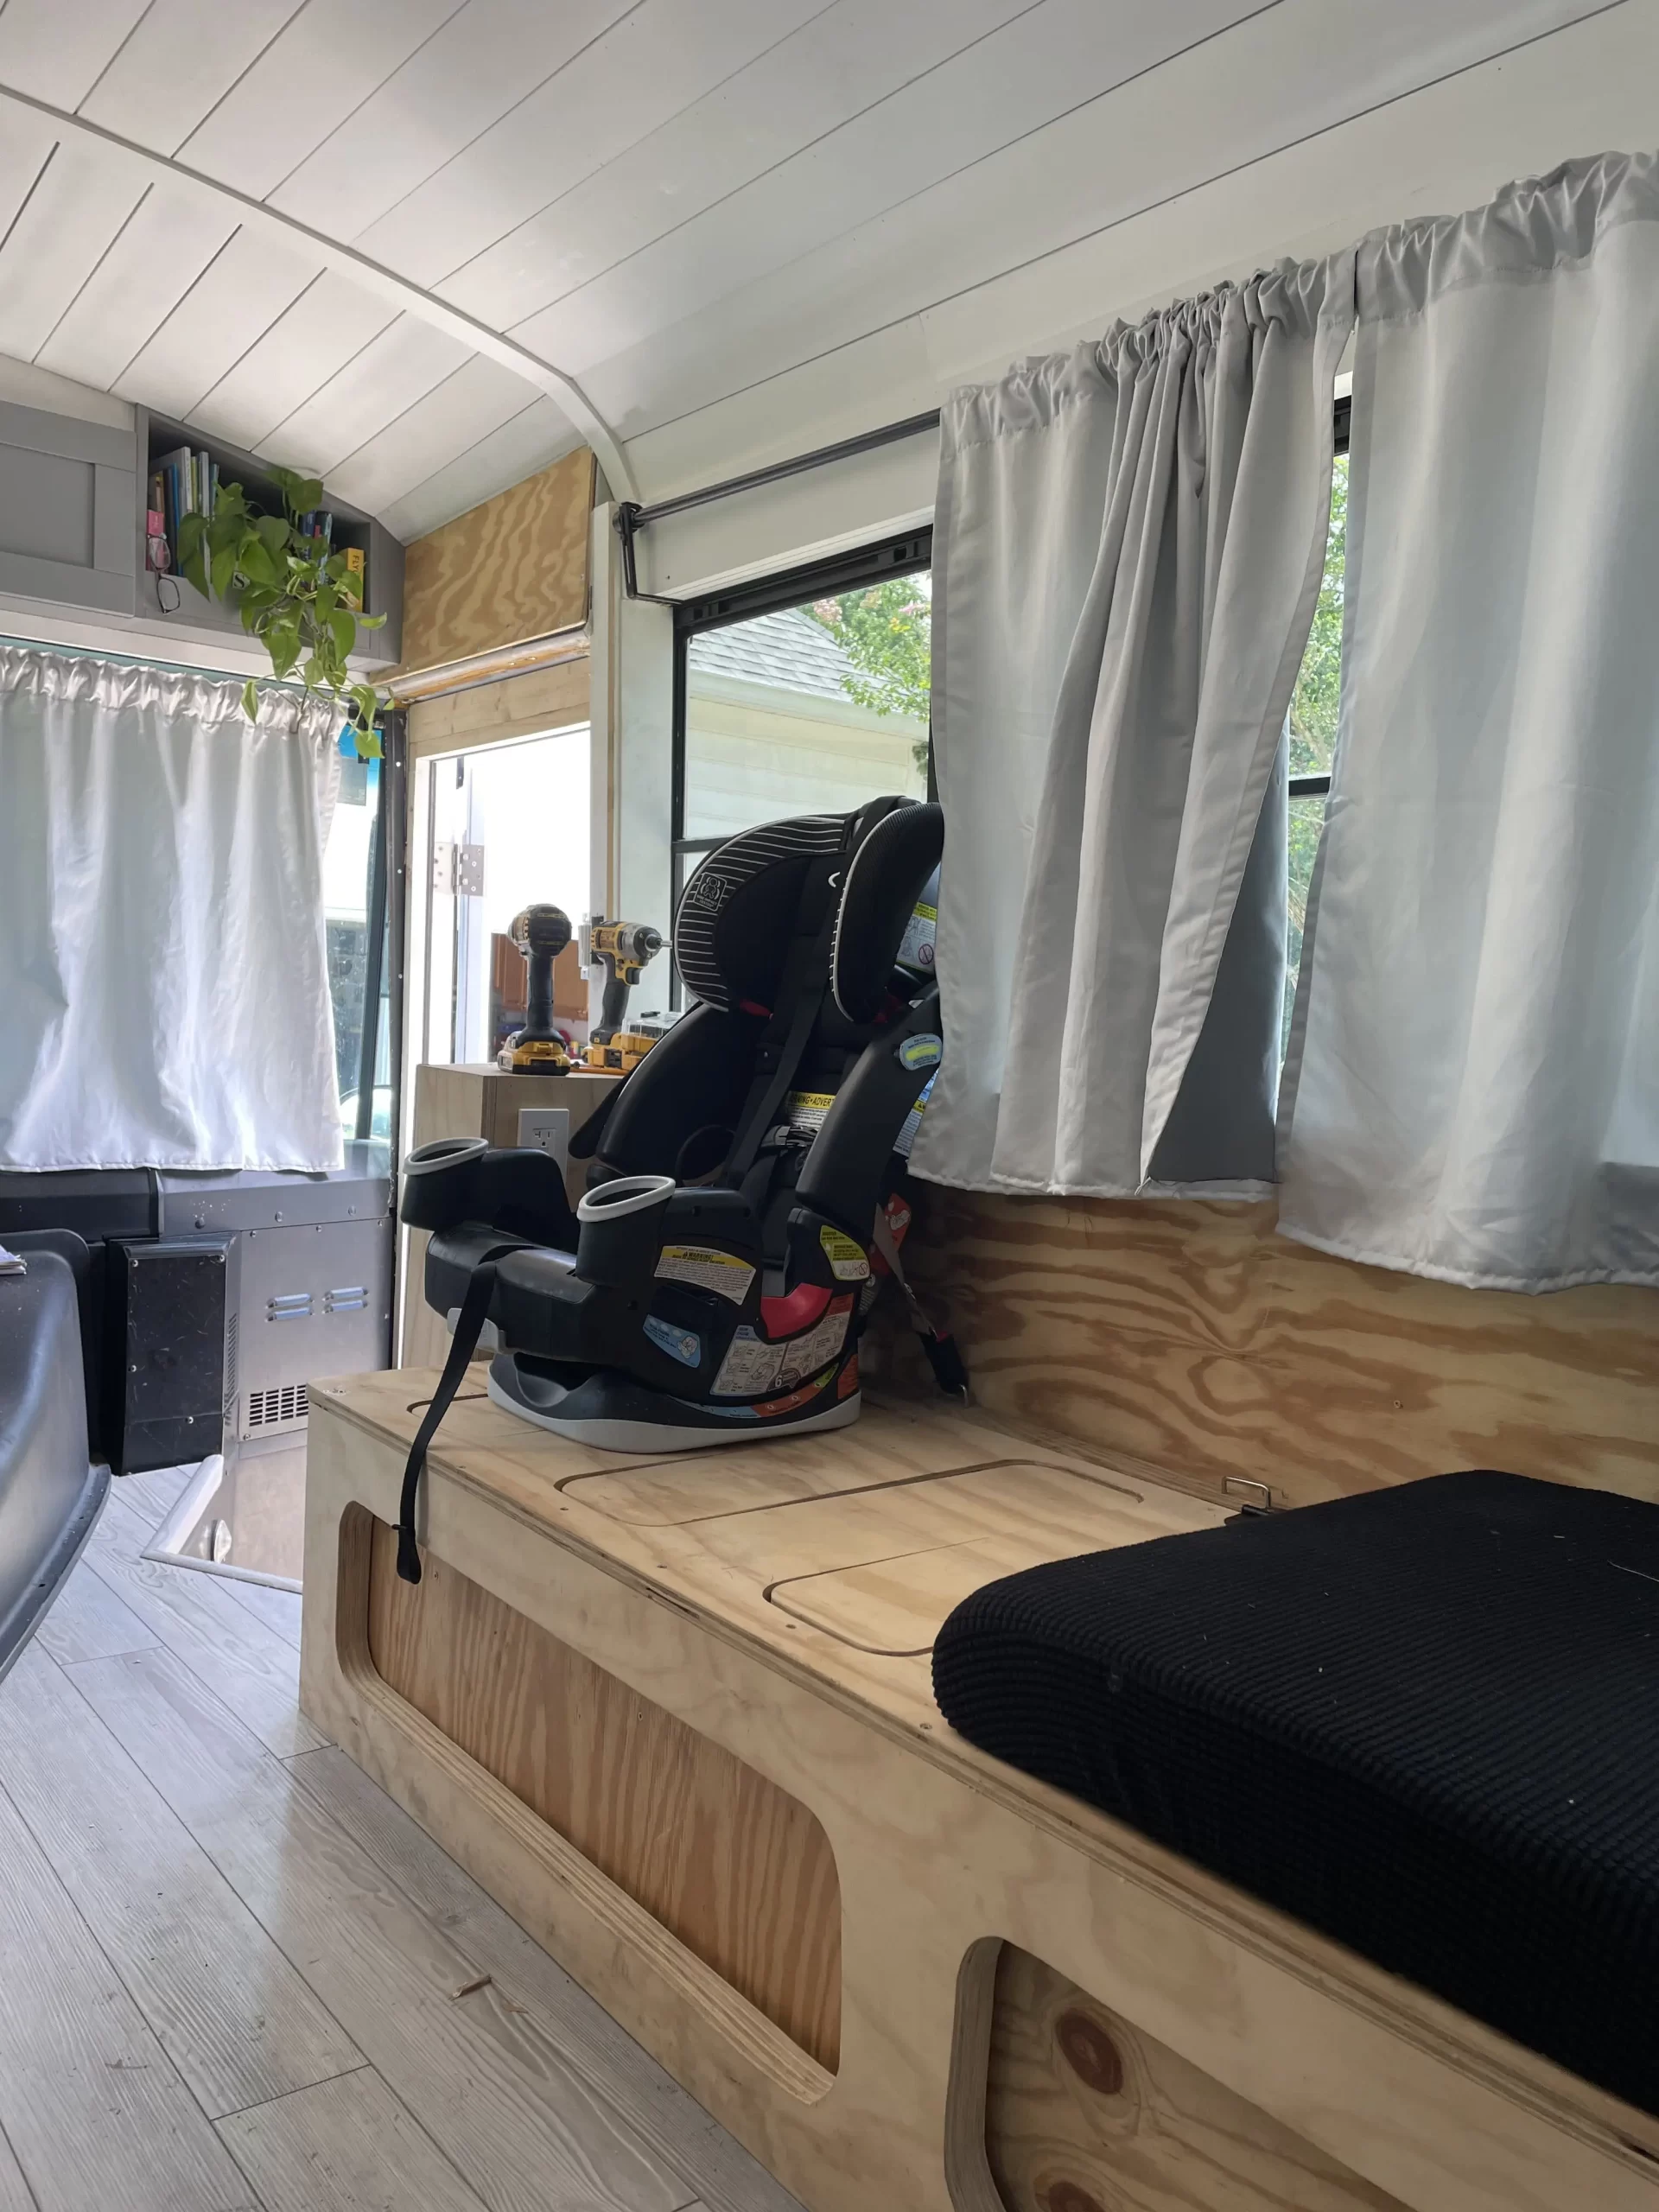
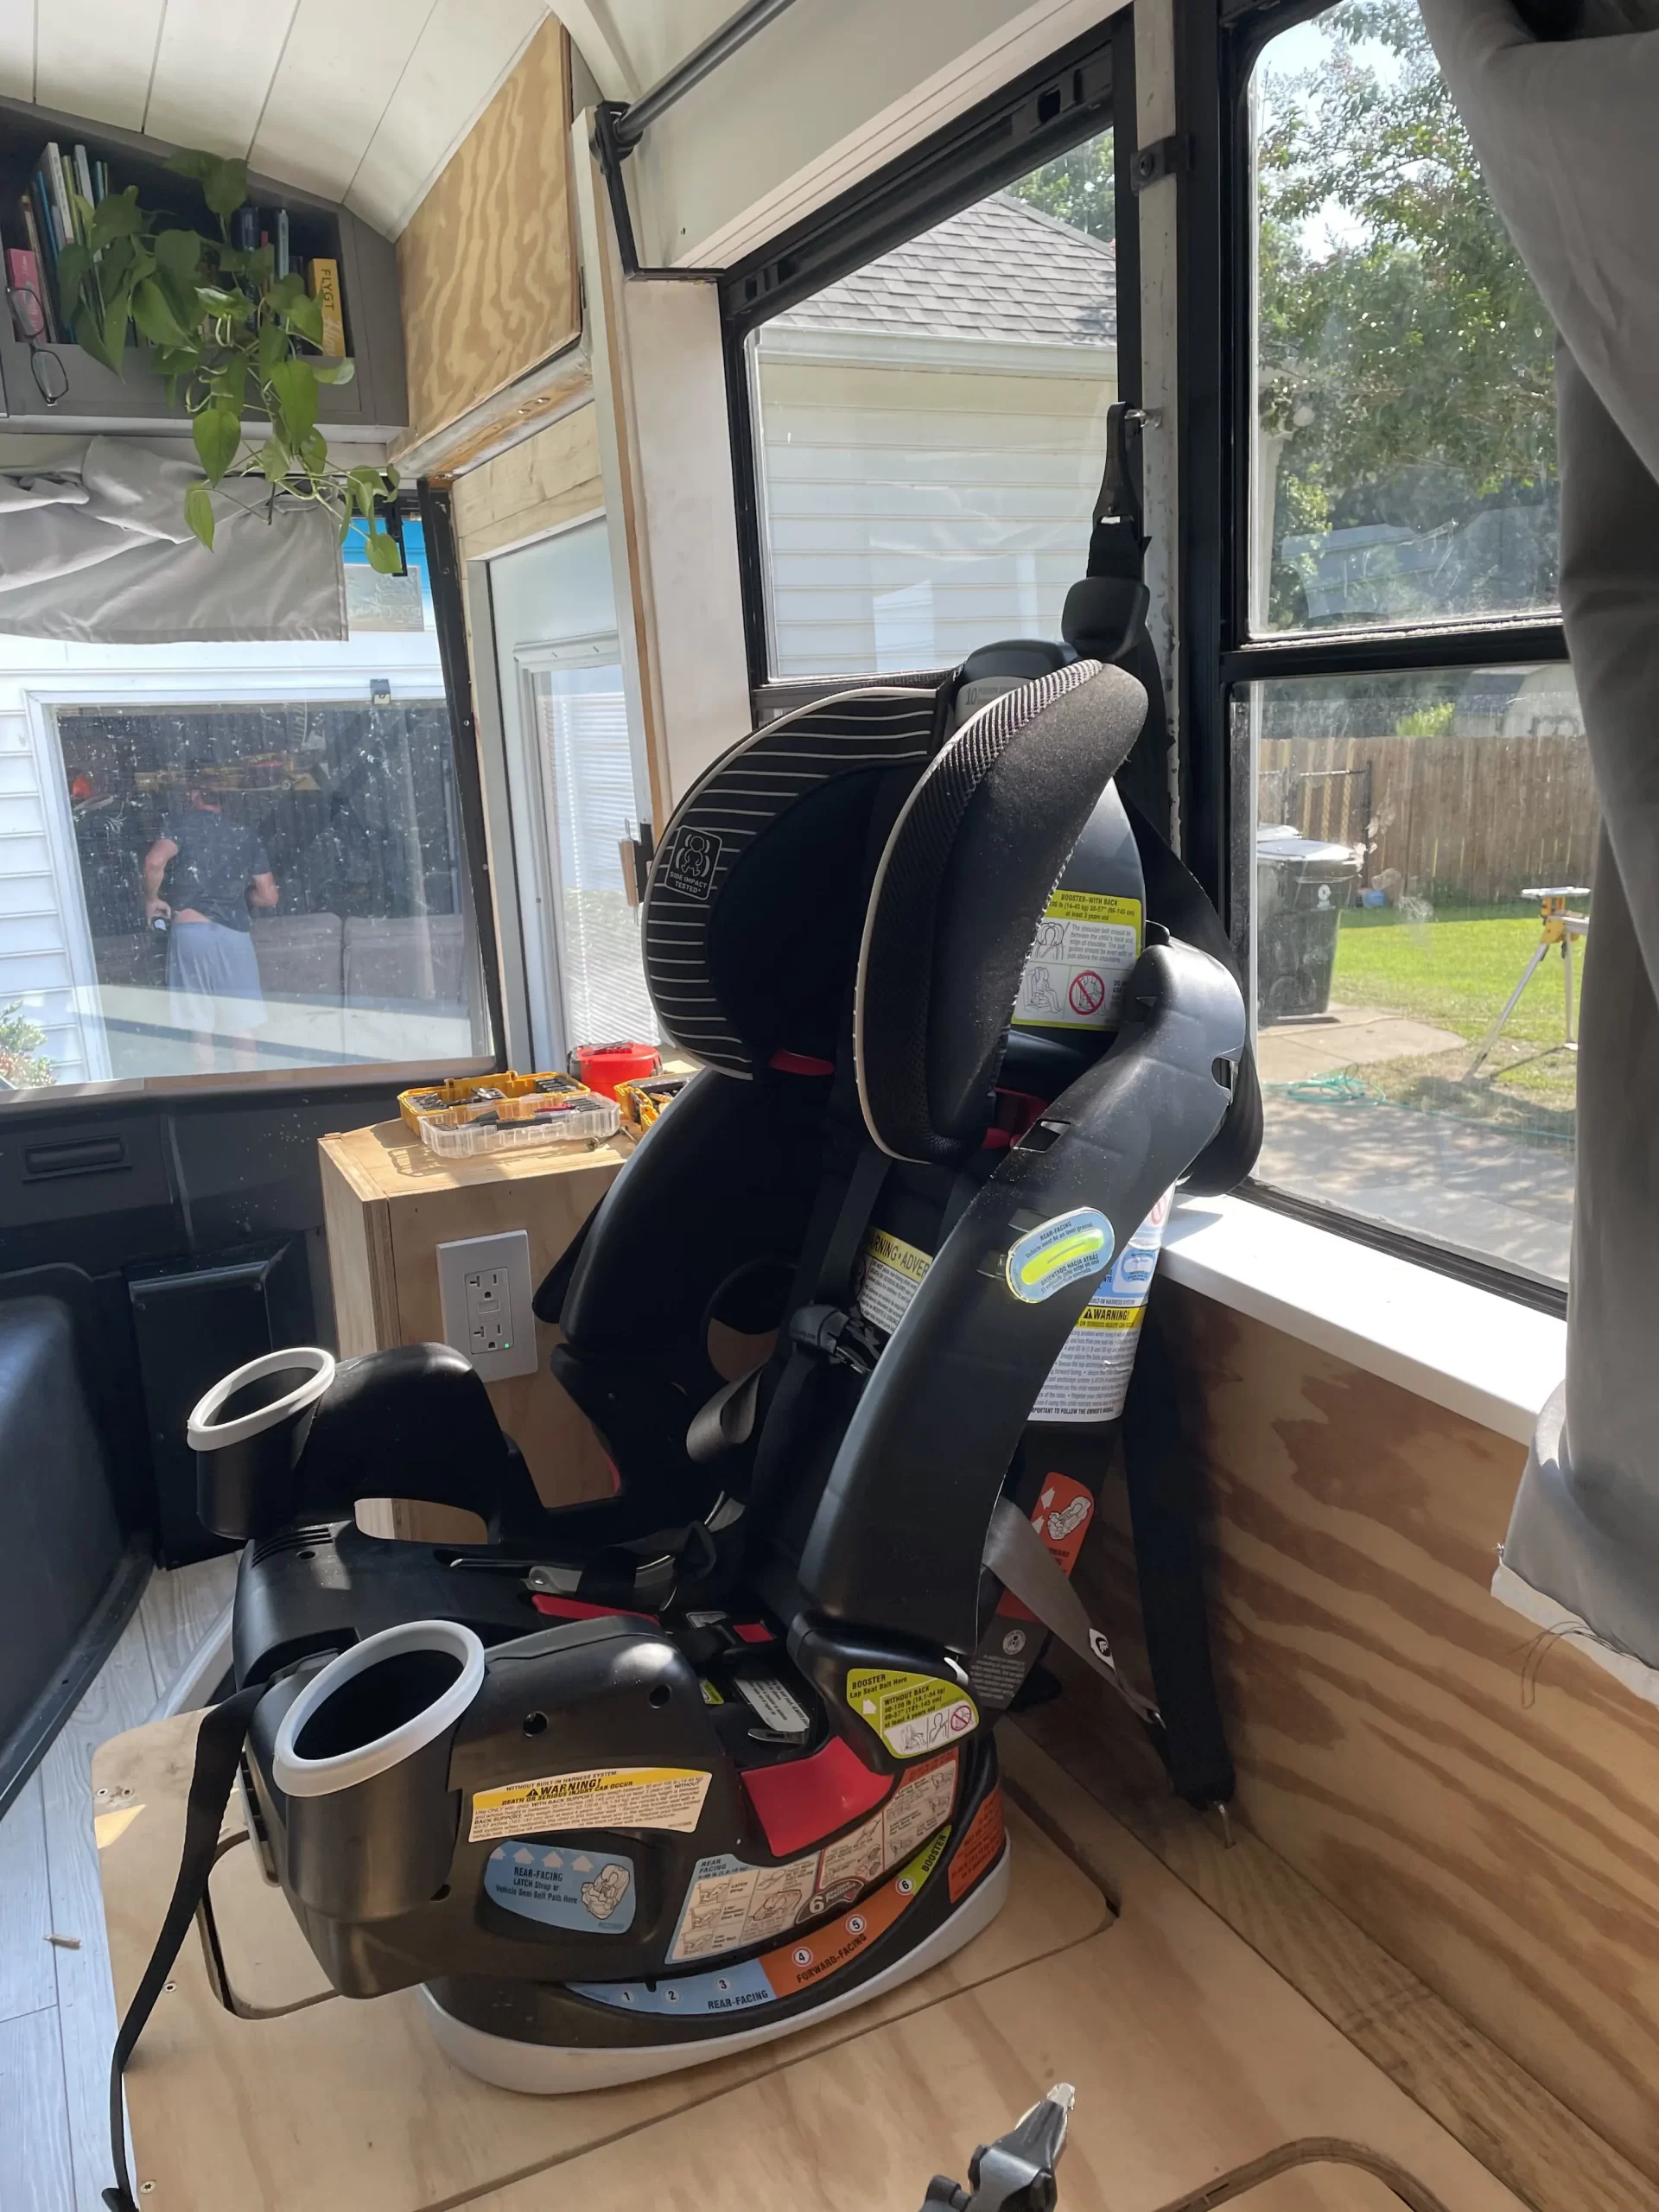
Car seat latched to mounting brackets in school bus conversion.
Side-facing instead of forward-facing or rear-facing
Due to the design of our couch, we had to install our car seats facing sideways instead of rear- or forward-facing.
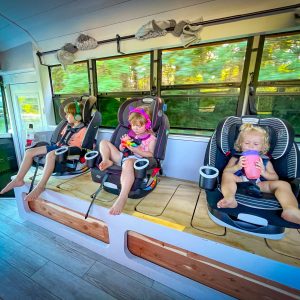
Three kids riding in a school bus conversion in car seats.
The likelihood that car seat placement would affect the outcome of a crash is lessened given the construction of a school bus compared to a passenger vehicle. Most school buses do not have car seats, so our opinion is that a car seat facing any direction is better than none at all.
We have 3 children who would otherwise be in car seats that are:
2 forward-facing
1 rear-facing
Because of the size and construction of the bus, compared to that of a passenger vehicle, we do not feel that the issue of forward-, rear- or side-facing is as significant of a concern as it would be in that of a normal passenger vehicle.
2 at the base
1 at the back, commonly called the “top tether strap”
Car seat recommendation for Skoolie
We purchased the Graco 4Ever DLX 4 in 1 from Amazon. We like how their base latches have a quick release feature with the press of a button, rather than depressing a lever.
How to store a car seat in an RV when not in use
We unclip the seats from the couch and store the three car seats in the shower and close the curtain. We then replace the couch cushions to have additional seating in our living room. Those couch cushions are typically stored under the rear bed when the car seats are installed, so they are also out of the way when not in use.
Disclaimer
We do not recommend traveling with any unsecured passenger in any moving vehicle, and we feel that this is the best and safest solution for our family since we do not tow another vehicle with us or drive separately anymore. Our suggestions do not follow the manufacturer guidelines. Please do your own due diligence.
As Amazon Associates, we earn from qualifying purchases. The majority or all links are affiliate links. We thank you for shopping with them as a small commission may be paid to us if you purchase.
Thanks for following along with our journey! – The HildeFam