In this blog, you’ll learn about our process and supplies used for building out the shower in our school bus conversion. All the steps we took were in consideration of this being a mobile dwelling and making it as water-tight as possible for the long haul. We also provide resources from trade professionals and fellow
Skoolie Shopping Essentials
Read this blog to see the product shopping list that we used to build out our

How to Build a Skoolie Shower
Framing a
The final stage is where the walls get closed up and you can waterproof the walls, install the shower pan, connect the sewer lines, add the finishing touches such as tile and fixtures.
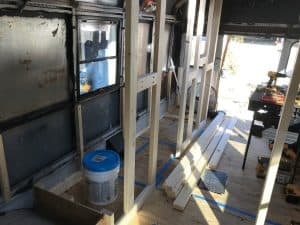
Rough-In Stage
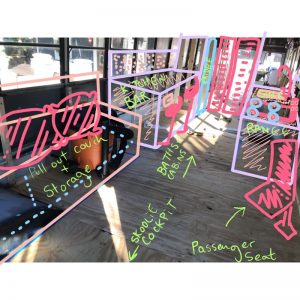
Create a skoolie floor plan
Before my husband started framing, we designed a rock solid
Snag the free
Frame the shower dimensions and specifications
Eric framed our shower space to be 2 foot wide (entrance) by 3 foot deep. He used 2 inch by 4 inch (“2 by 4s”) pressure treated lumber purchased at Home Depot.
Inside the shower, he built:
- a 3-foot tall by 1 foot deep bench to give us a little luxurious space to sit after a tough hike
- space for 2’x2′ shower pan
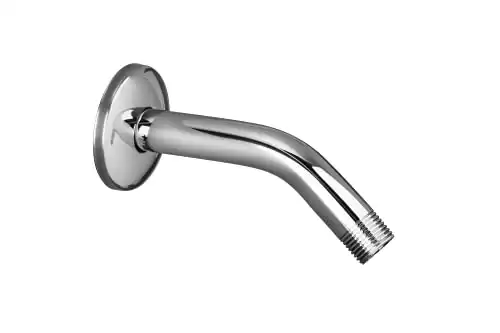
- blocked out with wood the locations of our shower diverter kit (“shower handle guts”) and shower head
- Cut more narrow furring strips for the curved shower ceiling. We would have to cut narrow pieces of cement board to form a curve.
- Ran the water lines and connected them to the valves and shower head
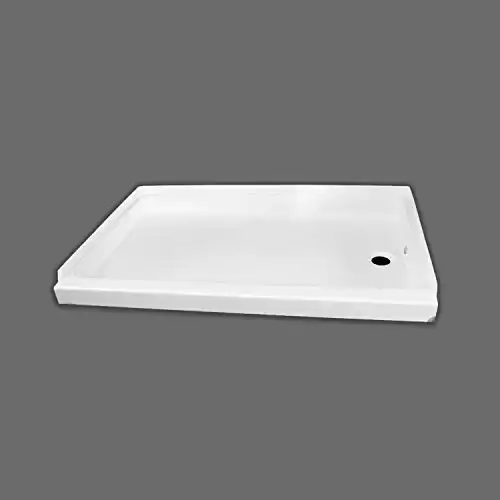
Install the shower pan and cement board walls
After framing the structure of our bathroom, Eric installed a fiberglass shower pan on the floor. Before glueing it in place, he cut through the insulated floor and metal frame of the bus to install the sewer lines using a circular drill bit.
If you’re using a standard size shower pan like we purchased, then the hole should already be installed (usually in the center) of the pan.
Install cement board on the walls
Since the ceiling is curved, he scored the back of the cement board so it could bend. When he did need to cut through the board, he used a membrane tape to seal the edges. That’s important to do before the waterproofing membrane goes up.
Cut the cement board outside and wear a mask. You don’t want to inhale the dust.
He cut through the cement board to create holes for the shower valve kit and shower head.
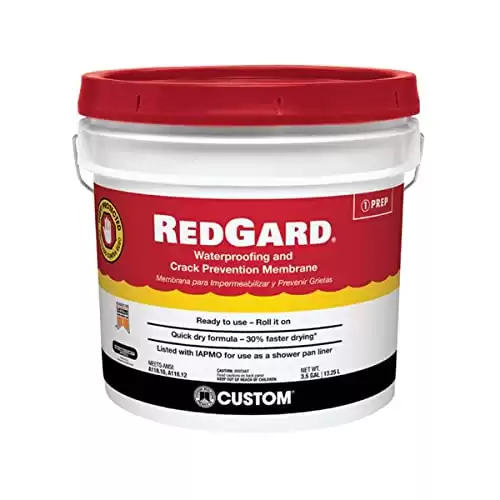
Waterproof the walls
He applied mesh on the corners and then rolled three layers of waterproof product: Redguard.
Final Stage
Install Tile
Next, Eric used ceramic tile adhesive (aka. mortar) to bond the tiles to the walls. He used a wet saw to cut the tiles.
We opted for a small grid horizontal subway tile on net backing for easy of installation and a little extra support on the road. Frequently, you hear of cracked grout and broken tiles when used in a mobile application, and we feel this gave us the best solution. Having the tiles on a 1 foot by 1 foot sheet, rather than individual tiles, sped up his workflow a lot.
He used a wet saw to make straight cuts and tile nipper for small cuts.
He applied the tiles using a ceramic tile adhesive (also known as mastic or thinset) and a trowel (like this one from Amazon). He mixed the adhesive himself and didn’t buy the pre-mixed compound.
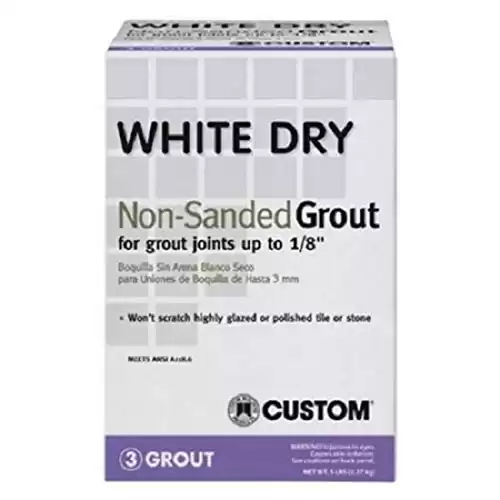
Once the tile were installed, he used an unsanded grout (like this Mapei product on Amazon) to seal and bond the tiles together. He also mixed it himself using a 5-gallon bucket and mixing blade and didn’t buy the pre-mixed compound.
Finally, he sealed the grout with a grout sealer. This eco-friendly one retails for ~$15.50 on Amazon. You can apply the grout sealer with a rag or sponges.
Connect water lines
After framing, before the walls went up, he connected the shower water lines to make sure there were no leaks.
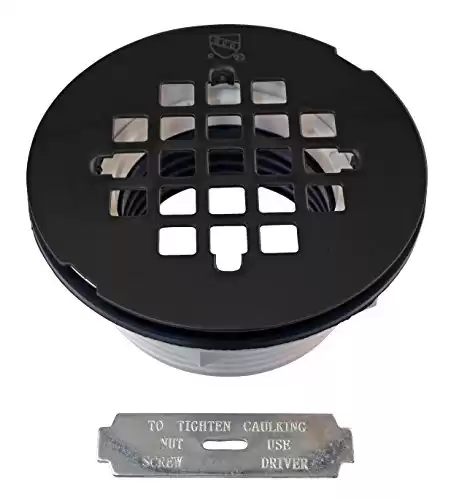
Connect sewer lines
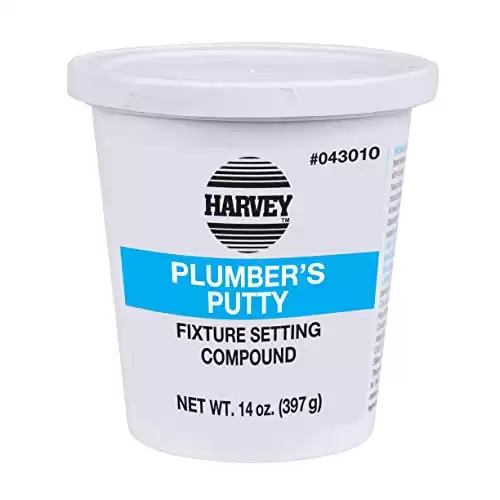
Make a snake from plumber’s putty and line the underside of the shower drain assembly.
Plumber’s putty will make a seal between the pan and the drain to make sure there are no leaks there. Finally, you’ll connect the shower drain assembly to the drain line with flexible thread sealant.
Unfortunately, you’ll like be working under the bus at this stage, so prepare to get a little dusty.
 Delta Faucet R10000-UNBXHF MultiChoice Universal Shower Valve Body for Shower Faucet Trim Kits
Supplies to Build a Skoolie Shower
Here is a list of supplies that we used to do our shower tiling project. These links will take you to Amazon, but you can also find these items in local construction and tile stores. As an Amazon affiliate, I earn from qualifying purchases.
Supplies needed to connect the drain in a skoolie shower
The products below will be linked to examples found on Amazon; however, you should be able to locate them at your local plumbing supply store or contracting store like Lowe’s or Home Depot.

Protect your skoolie gray tank with a fine strainer
I recommend purchasing a fine mesh strainer (like this one on Amazon) to go over the shower and any sink drains. This is to limit particles other than liquids going down the drain that could later cause a blockage in your gray tank. Yuck!
Read the blog about how to determine what size

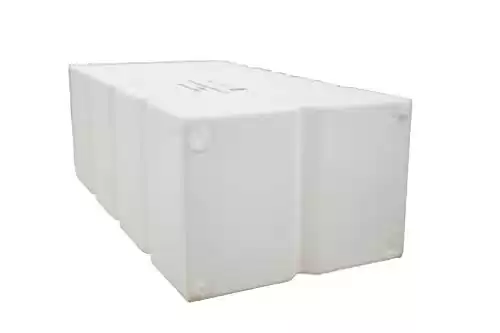
Best Water Tank for a Skoolie
We recommend the largest water tanks you can install. We went with two 100 gallon tanks for fresh water and gray water storage.
Frequently Asked Questions
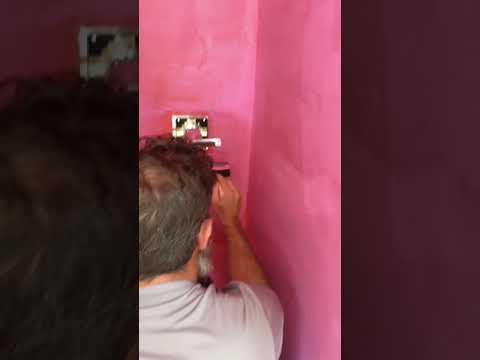
How to waterproof a skoolie shower
Eric painted the walls with 2 coats of Redguard waterproofing membrane as you can see in this vlog here. We used Redguard to waterproof our shower; however, we used a Schluter system when installing our backsplash in the kitchen area.
Due to space constraints, we chose to go with Redguard in the shower since it was easier to “paint” in a smaller space than installing a membrane system like Schluter.
Resources
Professional
If you want to learn more about how to install tile and which products to use where, check out this FloorTechie.com blog post.
Skoolie DIYers
How KelsAndJay tiled their shower
Adventures with Boog installed a bathtub
Gilligan Phantom used an orange waterproof membrane to seal his shower
Gilligan Phantom also installed his tile with a “flexible” compound
Tale of Two Smittys walk you through their process on the rough-in stage of their shower
Conclusion
Thanks for following our journey. – Ingrid & the HildeFam