The detailed guide to DIY a Skoolie Plumbing System!
Use this
It can definitely seem overwhelming to DIY plumb an entire bus with no or limited experience, but it’s completely possible to accomplish – I’m speaking from personal experience.
Fortunately, this type of plumbing system is rather simple to plan out and quite few supplies are actually needed, as you’ll see below. Once you create your design and rough it out with fittings, you’re basically complete (except for the occasional swearing and 10th trip to the plumbing supply store, of course).
If you’re at the beginning stage of your
Skoolie Plumbing Supply List
We purchased the majority of our
Check out our Skoolie Supply and Essentials Shopping List here to see everything we put into our bus.
Labor Costs
My husband, Eric, installed the plumbing water and sewer lines himself (I did install the kitchen sink faucet at the very end)!
We hired a licensed plumber to inspect at the rough-in and final stages. He charged about $75 per inspection.
Supply Costs
We spent about $1500 on parts to install our water supply and sewer lines. Labor was basically $0 since we installed the
The biggest components of that cost went to the products listed below. The prices stated there are approximate.
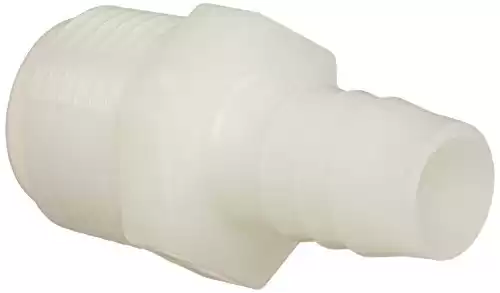
Skoolie Fresh Water Supply Purchases
-
-
 Buy Now$58.72
We earn a commission if you make a purchase, at no additional cost to you.
02/18/2024 03:33 pm GMT -
Buy Now$279.00
We earn a commission if you make a purchase, at no additional cost to you.
02/18/2024 08:05 pm GMT -
Buy NowAED676.60
We earn a commission if you make a purchase, at no additional cost to you.
02/19/2024 09:12 pm GMT -
Buy Now$69.79
We earn a commission if you make a purchase, at no additional cost to you.
02/18/2024 02:00 pm GMT -
Buy Now$34.48 ($0.34 / Foot)
We earn a commission if you make a purchase, at no additional cost to you.
02/18/2024 03:43 pm GMT -
Buy Now$34.48 ($0.34 / Foot)
We earn a commission if you make a purchase, at no additional cost to you.
02/18/2024 02:41 pm GMT -
Buy Now$39.84
We earn a commission if you make a purchase, at no additional cost to you.
02/19/2024 05:59 am GMT -
Buy Now$8.99 ($2.25 / Count)
We earn a commission if you make a purchase, at no additional cost to you.
02/18/2024 03:39 pm GMT -
Buy Now$88.97
We earn a commission if you make a purchase, at no additional cost to you.
02/18/2024 03:56 pm GMT -
Buy Now$7.15
We earn a commission if you make a purchase, at no additional cost to you.
02/18/2024 03:48 pm GMT -
Buy Now$7.85
We earn a commission if you make a purchase, at no additional cost to you.
02/18/2024 03:18 pm GMT -
Buy Now$26.99 ($0.22 / Count)
We earn a commission if you make a purchase, at no additional cost to you.
02/18/2024 02:46 pm GMT -
Buy Now$6.99
We earn a commission if you make a purchase, at no additional cost to you.
02/18/2024 02:28 pm GMT -
Buy Now$142.80
We earn a commission if you make a purchase, at no additional cost to you.
02/19/2024 07:11 pm GMT -
Buy Now$21.98
We earn a commission if you make a purchase, at no additional cost to you.
02/19/2024 07:44 pm GMT -
Buy Now$17.99
We earn a commission if you make a purchase, at no additional cost to you.
02/19/2024 07:49 pm GMT -
Buy Now$20.83
We earn a commission if you make a purchase, at no additional cost to you.
02/19/2024 08:05 pm GMT -
Buy NowAED279.51
We earn a commission if you make a purchase, at no additional cost to you.
02/19/2024 09:17 pm GMT -
Buy Now$4.09
We earn a commission if you make a purchase, at no additional cost to you.
02/19/2024 09:51 pm GMT


Skoolie Plumbing Finishes
Skoolie Sewer Line Purchases
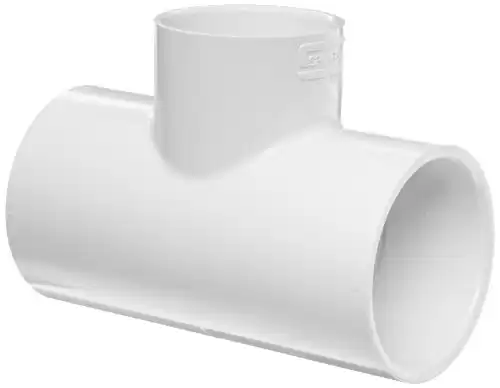 Spears 401 Series PVC Pipe Fitting, Tee, Schedule 40, White, 1-1/2" Socket (Pack of 5)
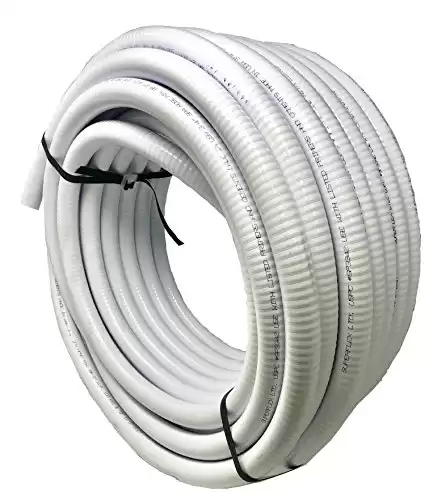 Sealproof 1.5" Dia Flexible PVC Pipe, Swimming Pool and Spa Hose, Pool Plumbing Schedule 40 Tubing, Made in USA, 1-1/2-Inch, 50 FT, White

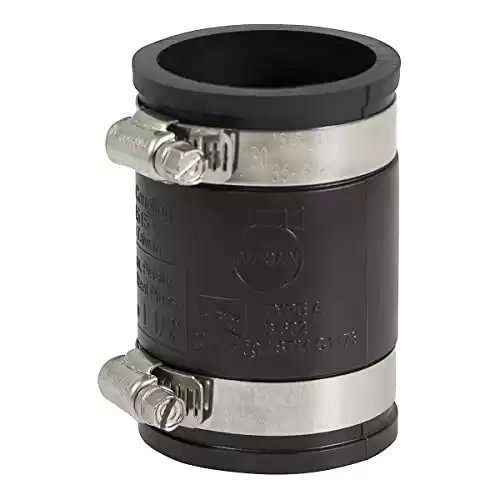
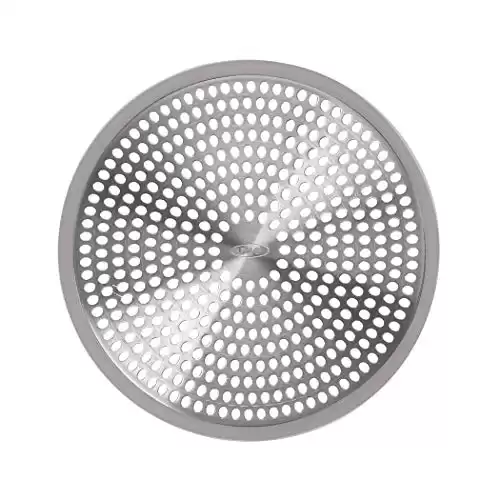
Miscellaneous Skoolie Plumbing Supplies


Find a detailed description of the Skoolie Shower Build-out here.
Skoolie Plumbing Building Stages
In this section, we break down the two major stages of plumbing: rough-in and final. The
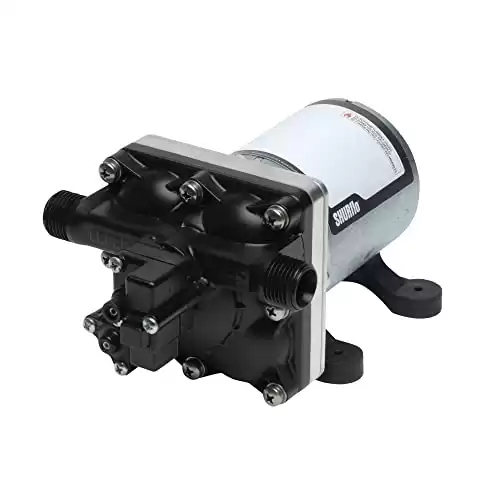
The fresh water supply starts with a fresh water supply port entering the
All sewer lines should drain to the gray water holding tank. The gray water tank will have an outlet that a hose can be attached to when draining. If using a composting toilet, then the solid waste can be bagged and disposed of.
Plumbing Rough-in
This is the stage when all the walls are open and framing is complete with studs installed.
This is also the most time-intensive stage as:
- you lay out all your water supply lines and sewer lines,
- decide what appliances (water heater, water pump) and fixtures (sink, shower, water tanks) they will attach to or from,
- make the connections between the fittings,
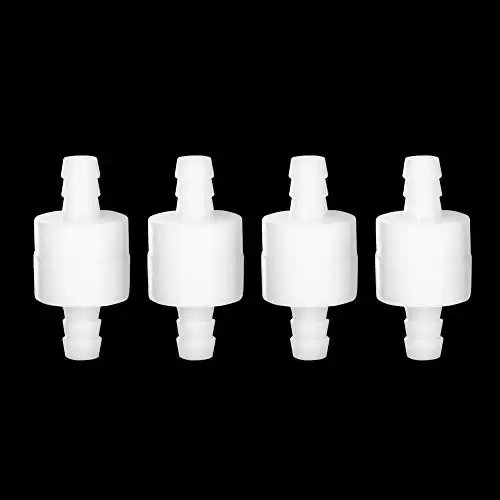
- install back-flow devices, and
- pressure test the entire system once all connections are made.
Download our free skoolie floor plan template here to draw your plumbing plan!
Skoolie Water Supply Lines
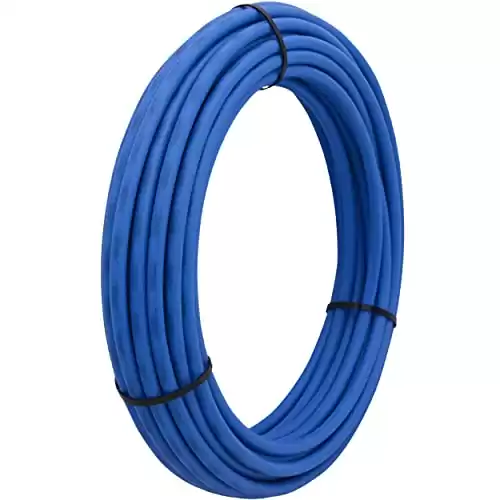
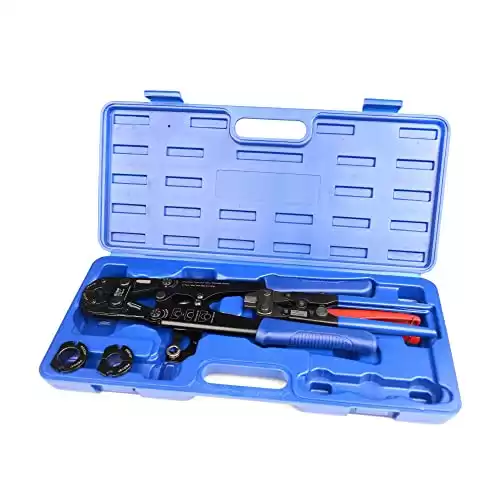
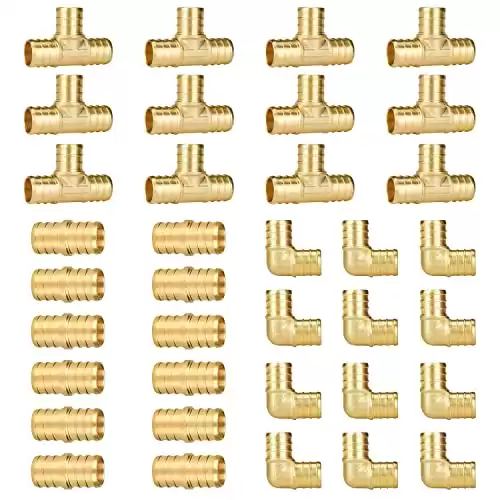
Prior to this stage, you should determine what type of plumbing supply lines you will install in your school bus conversion. The most common options are flexible water lines like PEX or a rigid product like copper.
By far the most popular
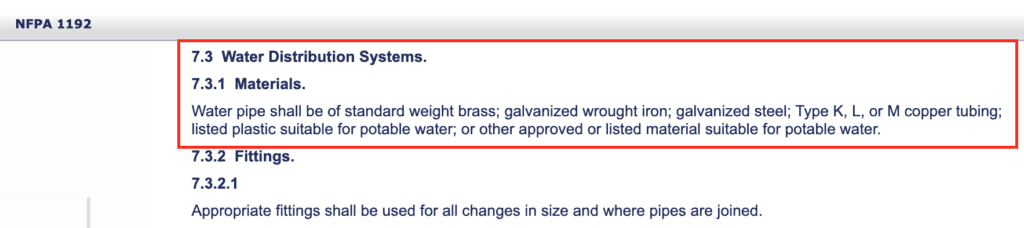
According to the NFPA Recreational Vehicle Building Code 1192, PEX is an acceptable material for a water distribution system. See screenshot of the code below.
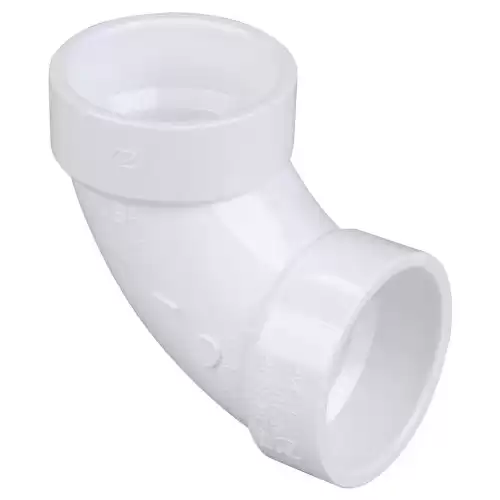
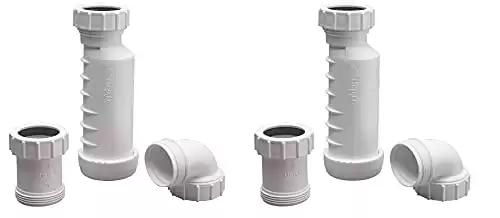
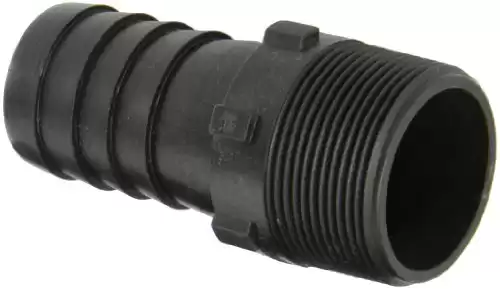
Skoolie Sewer Lines
For the
We were satisfied with this product as it was easy to work with, especially as we had to run our sewer lines from the bus interior through the floor then across the bus undercarriage to the gray tank. We secured the flexible pipe to the undercarriage with metal zip ties.
At the end of the
Just need to pressure test your
Listed below are resources from other skoolie builders and the products they used in their builds. PEX is used the majority of the time.
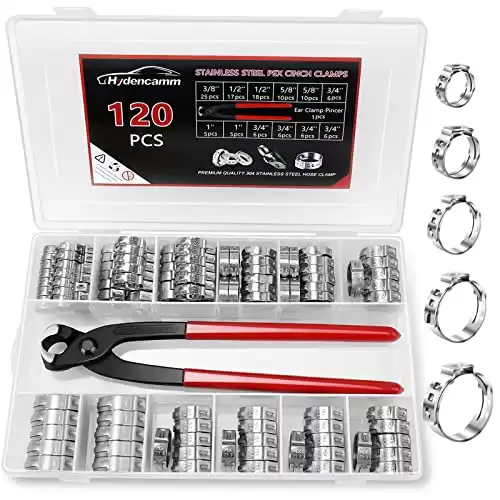
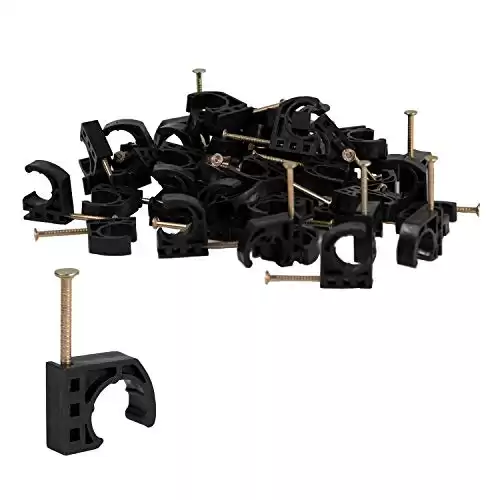
All PEX should be installed through studs in the bus. We used 2×2” wood studs so the [½”] PEX fit just fine. Be sure to install nail plates on the studs wherever you pass the pex through the wall. This is so that once the walls are closed up, you don’t accidentally puncture a waterline with a screw or nail.
Plumbing Final
Once you make it to the final stage of plumbing your school bus conversion, you’ve survived the really tough parts!
At the final stage, you should ready to trim out your system like installing all of your fixtures like the kitchen and bathroom faucets, shower handle, shower head, and water filtration system. There is really a magical feeling at the final stage because you can really see your dream tiny home on wheels coming to life!
The final stage typically occurs as everything else is coming to an end like your build-out is 90% complete. The framing and insulation are being enclosed and electrical (and solar) are wired in, having all passed their rough-in inspections of their own.
National RV Building Code
My husband also relied on national resources such as the RV building codes from the National Fire Protection Association. You can search their website for tips on standard practice at each stage of your build: framing, plumbing, electrical, sewer, and more.
Skoolie Plumbing Professional Inspection
We aren’t professionals and don’t claim to be. Eric watched tens of hours of YouTube videos educating himself on how to run our plumbing water supply lines and sewer lines correctly. To be extra safe, we also hired a real plumbing professional to review our system at the rough-in and final stages.
We hired a local and trusted plumber to look and provide feedback on our system and paid him $75 at each inspection. A few hundred dollars for an inspection and peace of mind that we have a plumbing system that doesn’t leak was worth it to us. We encourage you to do that too.
If you decide to hire a professional, call around and get quotes from a few, if you don’t know anyone personally.
Are you thinking of hiring a professional to convert your mobile dwelling? Read this blog.
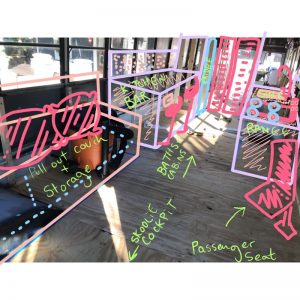
Skoolie Plumbing Zones
Your master plumbing plan is going to be broken up into several major zones. You’ll want to keep these major zones at top of mind as you draw out your
Here is a brief summary of the common plumbing zones, though this list is not exhaustive. Scroll down to see an in-depth explanation of what each zone has within it.
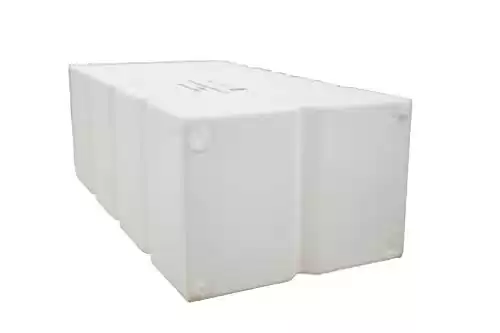
- Fresh Water Supply (including your fresh water tank)
- Kitchen
- Shower
- Hot Water Heater
- Sewer and Gray Water Tank
Drawing out your plumbing zones will help you visualize what water supply lines and water sewer lines you’ll need to run at each major zone, and help plan and prevent any obstacles you may come upon inside and below your rig.
Fresh Water Supply
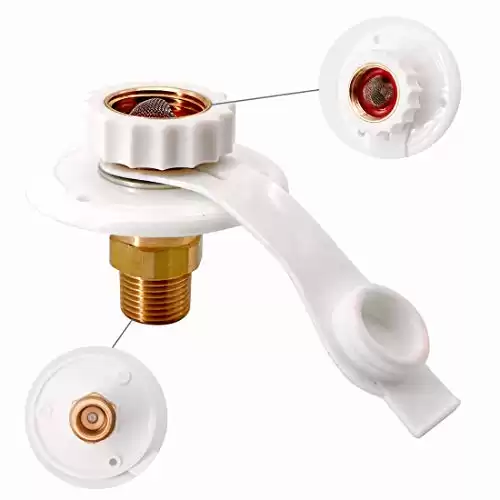
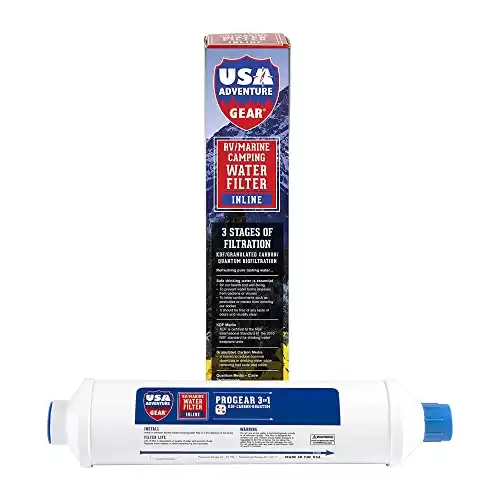
This zone is the start of your interior water supply. It begins with water supply lines connecting to the exterior hookups, typically through the use of a city water hatch (We liked this city water hatch with a lock and key).
Coming in from the exterior, the water supply lines will usually follow two tracks: filling the fresh water tank or, if you are attached to a water source, bypassing the tank and pump to flow directly into the home.
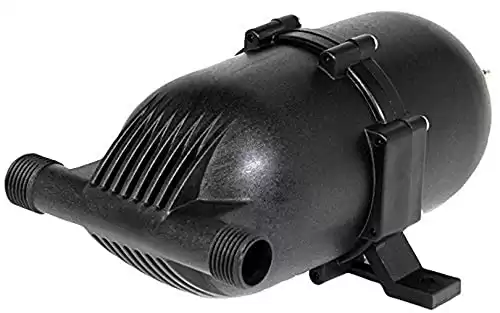
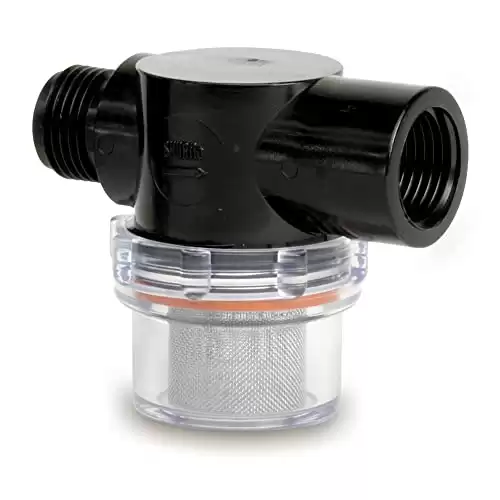
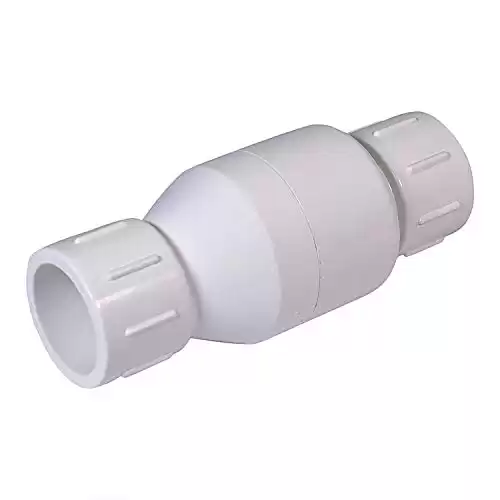
Immediately connected to the water pump should be an accumulator. The accumulator will balance out uneven pressure coming from the tank through the pump, so you don’t experience spotty water pressure.
If you are bypassing the tank, you should bypass the water pump (and optional accumulator), since you should have sufficient pressure from the exterior source.
To determine how much fresh water you’ll need on your rig, read this blog.
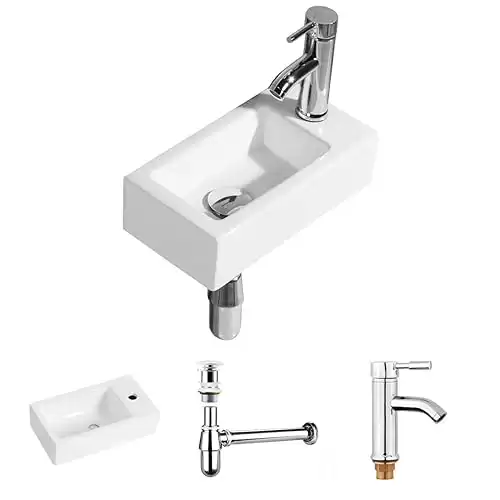
Kitchen
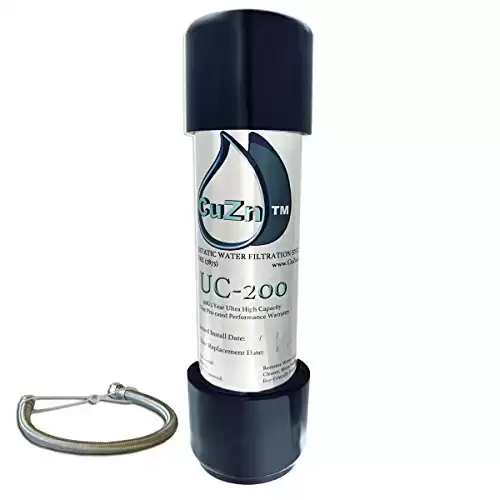
This zone will most commonly include water supply lines for a kitchen sink and interior water filter (commonly mounted under the kitchen sink). Additional upgrades in this zone may be water supply and drain lines for a washing machine and fridge ice maker.
You’ll also need to account for sewer lines from this area to the gray water, black tank, or some other way of disposing the waste water.
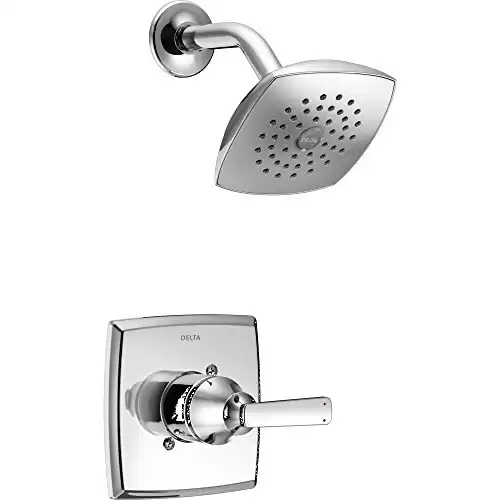
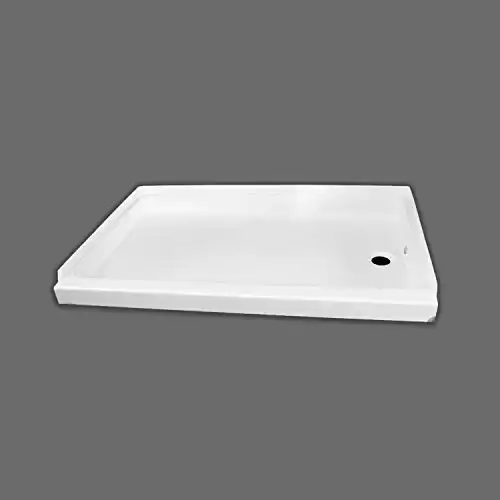
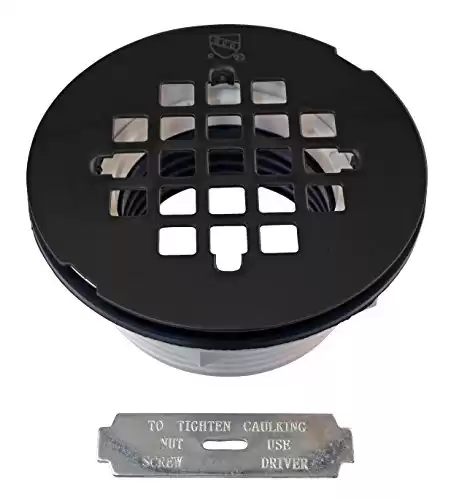
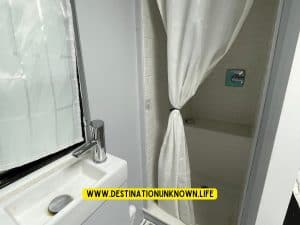
Shower
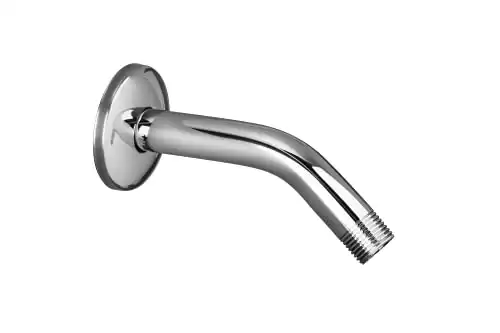
This zone will usually house the water supply and sewer lines for the shower, bathroom sink, and toilet.
In our blog on how to build a skoolie shower, we go in-depth on how to run the water lines from the hot water heater, connect the drain lines to the gray water tank underneath the bus, and the supplies we used to finish our
Hot Water Heater
Consider installing your hot water heater close to the fresh water supply since it is the shortest run to the main water supply.
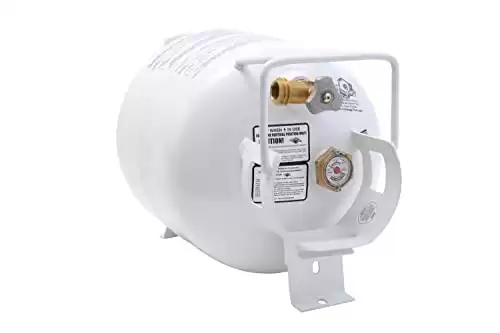
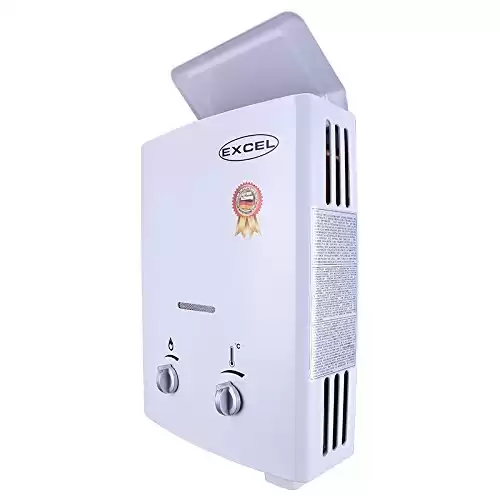
If you are installing a propane water heater, then you’ll need to consider its location to the gas line hookups and a space to vent the exhaust, if your unit requires ventilation.
We installed an on-demand liquid propane (LP) ventless hot water heater in our
If you want to know how to install liquid propane gas lines in your
Sewer and Gray Water Tank
Any time you have water supply lines going to a zone, you’re going to need to install sewer lines away from this area. It’s a yin-yang balance.
Important factors in this zone are to place your gray tank opposite the fresh water tank to balance the weight across the
If you’re curious what size gray water tank you need, then check out this blog on “How big should my skoolie gray water tank be?”
Additional Zones
Additional zones may include sewer lines for a black tank and water supply and sewer lines for a washing machine.
In the case of a washing machine, you would follow similar steps as in the sink plumbing to attach water lines to the back of the machine and then create a drain set up (like in the Bussy McBusface skoolie build) that flows into your gray tank.
Personally, we really enjoy dropping off our family of five’s laundry off at a laundromat and using the wash-and-fold service. Read about how we do laundry when living in a skoolie here.
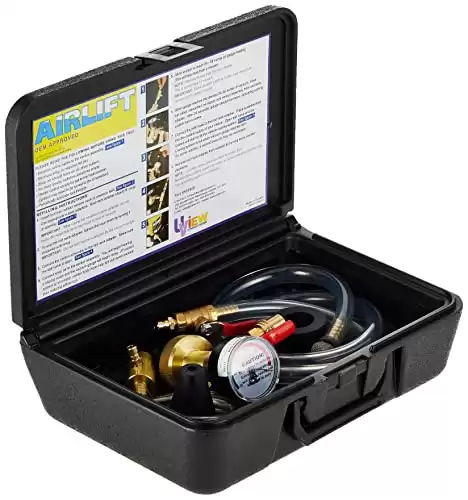
How do I pressure test skoolie plumbing water supply lines for leaks?
Once you’ve reached the stage where your DIY
The tools you’ll need are:
- an air compressor
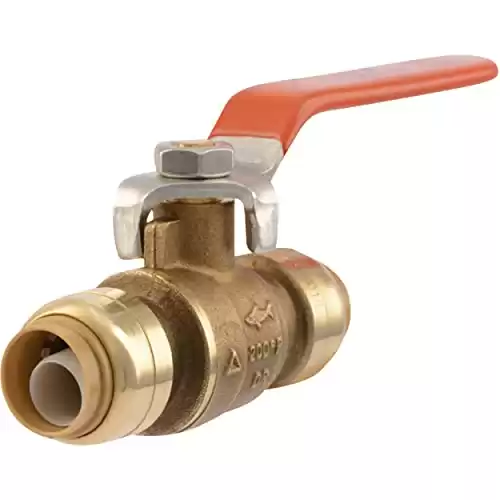
- valve
- a pressure gauge
- caps for the water supply lines
1. Cap off the water supply lines
Go through your bus and cap off any ends, but for two lines (one cold water, one hot water). Choose the easiest lines to access perform the test, so you’re not in a tight space unnecessarily. For example, we tested our water supply lines in the large bedroom so we had plenty of space to move around.
2. Connect the valve and the pressure gauge to the supply lines
Connect the valve and pressure gauge to the water supply lines using the PEX fitting adapters. For example, you’ll put an adapter on the valve (which the air compressor attaches to) on the hot water supply, and an adapter to the pressure gauge attached to the cold water supply.
Honestly, the “pipe temperature” doesn’t matter, but most builds mark red water supply lines for hot water and blue for cold.
3. Charge the water supply lines
Attach the air compressor to the valve using the adapter. Charge the lines to about 100 psi, then wait for up to 8 hours. If you see during that time that there is a huge drop of pressure, then you know there is a leak.
4. Sourcing a water supply leak
If you’ve found leak in your water supply lines after the air pressure test, then it’s time to find the source of it. Depending on the size of the leak, you may need to charge your lines again.
Mix 1/3 cup dish detergent with 2 cups of water, and dip a rag in the mix. You’ll first test all the fittings or joints since loose fittings are the most common causes of leaks. Once you find a leak, the soap will begin to bubble from the air escaping. If that doesn’t solve the issue, next you’ll run the mix down all the actual lines. If you’ve been recently framing, perhaps something punctured the water lines.
Once you locate the leak(s), adjust the fittings or pipes as needed. Pressure test the system again until the psi holds at 100 for 8 hours.
Here are two great resources for you to follow:
- How to Pressure Test Pex for a Tiny Home
- How to Pressure Test a Pex System (normal size house)
For the common cause of water leaks in your
How do I test skoolie plumbing water sewer lines for leaks?
Thankfully, this test will be a fair bit simpler than the air pressure test for the water supply lines. Simply stub off the sewer line going into the tank with something non-absorbent. Next, run 2 cups of water into the system and wait 4 hours.
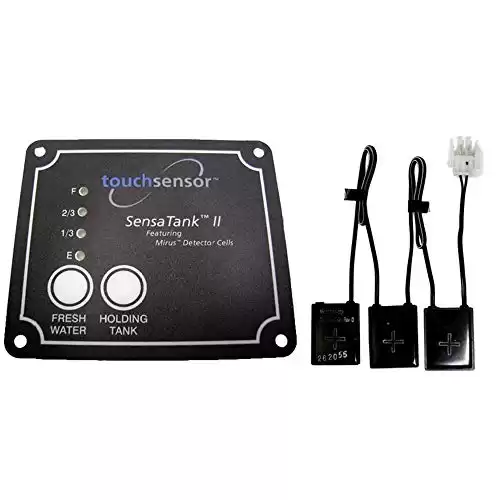
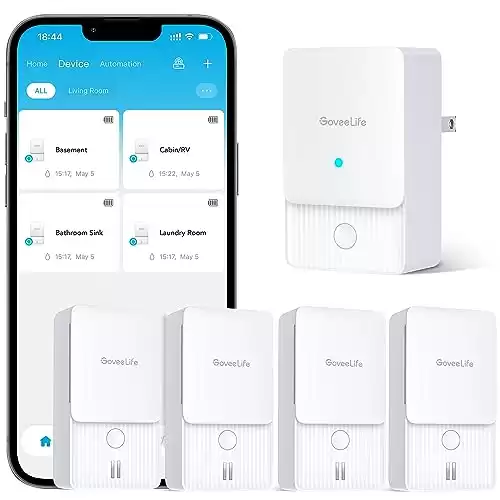
Prior to running water in your lines, consider installing water detection monitors to catch leaks quickly. They will set off a little alarm once water is detected.
You’ll really want to make sure you have easy access to all the sewer pipes at this stage in case there are leaks.
After that time is up, drain the standing water and you should come out with what you put in. If there is a significant loss of water, then you’ll check for leaks using the same method as mentioned in the above section.
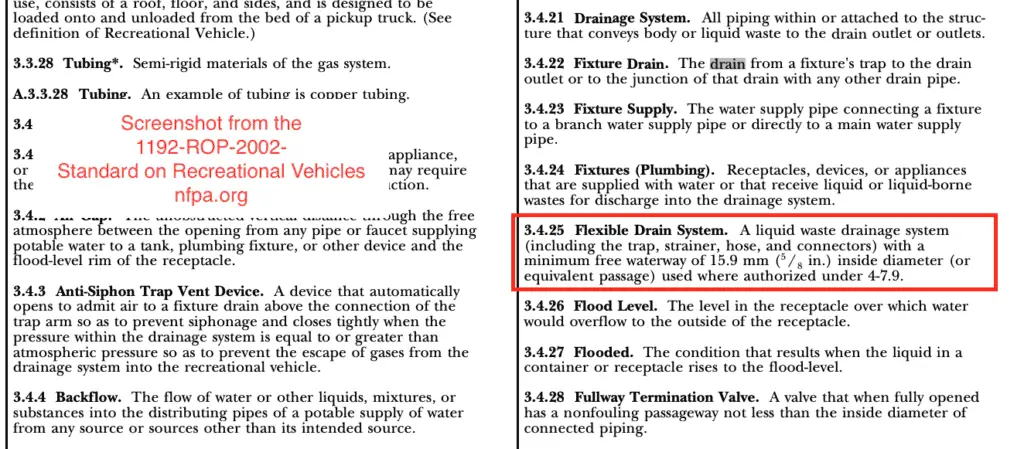
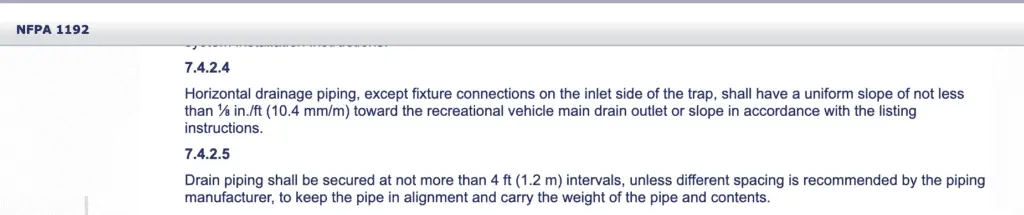
How to pitch your sewer line in your skoolie conversion
It’s worth mentioning that if you are having drainage issues in your rig, you should make sure that you are parked on a flat service or a service with a slight decline towards where you need the waste water to go.
For example, our gray water tank was installed at the rear of our bus, so we make sure to pitch our entire sewer system downward from the furthest point away (the kitchen, in our case). From the kitchen, our sewer drain traveled at a light downward pitch at 1/8 in per foot (according to the NFPA RV Building Code 1192) to the gray water tank.
In severe cases where the waste water just doesn’t drain properly even after parking on a flat, level surface, you can consider purchasing a pump to carry this along to the sewer tank.
Skoolie Plumbing System Diagram
*Coming soon*
Additional Skoolie Plumbing Resources
Skoolie Supply – Skoolie or vanlife water set-up
Rough skoolie resources – fresh and gray tank
Frequently Asked Questions
How long does it take to install plumbing in a skoolie ?
For a complete beginner, I would budget 60 hours dedicated to plumbing. You’ll need to factor in the time it takes you to study and plan your plumbing and sewer layout. I would estimate my husband took at least 20 hours of study and planning time. Budget 5 hours for the initial product and appliance purchases, and 5 more hours to run back-and-forth to the hardware store for missed parts. At the rough-in stage, I would estimate this to take 20 hours and the final stage to take about 10 hours.
Why should you use flexible water supply lines in your skoolie conversion build?
Flexible PEX water supply lines are beginner-friendly for even the most novice builder, and this is what we personally used as complete beginners! The flexible construction and joints are useful in a mobile application like a recreational vehicle, are freeze-resistant, and making repairs is simple compared to a rigid copper pipe when working in small spaces as in a school bus conversion.
As such, flexible PEX water supply lines are the most popular product when running plumbing in a
What size PEX water supply lines should you use in your school bus conversion?
Flexible PEX water supply lines come in two main sizes: ½ inch and ¾ inch. Due to the small footprint of a
In our school bus conversion, we used the ½ inch PEX water supply lines because we were confident that the flow would be adequate for such a small length of plumbing. In practice, we are happy with our choice and have had no water pressure issues in our mobile plumbing system.
What causes a school bus conversion water supply or sewer leak?
Leaks in the plumbing system are most often going to occur at the joints, where the lines are connected using a fitting. The other cause will result from damage to the water supply line itself.
Water leaks can be devastating, so we recommend install a water leak monitor in the most used and hard to see areas of your rig to catch a leak fast. I recommend two water leak detectors below, depending on your budget.

Plumbing Skill Level Needed
Working with PEX is beginner-friendly, though by the end you’ll be at an intermediate skill level.
My husband, Eric, spent seven months in 2020-2021 building out our
Disclosure: Some of the links in this article may be affiliate links, which can provide compensation to me at no cost to you if you decide to purchase a paid plan. Thank you, if you do. As an Amazon Associate I earn from qualifying purchases. This site is not intended to provide financial advice and is for entertainment only. Read our affiliate disclosure in our privacy policy.


this blog is really helpful thanks for sharing with us
Thanks for the comment. I’m glad to hear it helps!!
Hello! Thank you for sharing your valuable knowledge with the skoolie plumbing community. Your guide will be beneficial for us and it helped many other people as well. Your clear explanations and instructions have helped me to understand the complexities of plumbing. Your tips and tricks have saved our time and money, thanks for this knowledge.
Thanks for the comment. I’m glad to hear it helps!!